
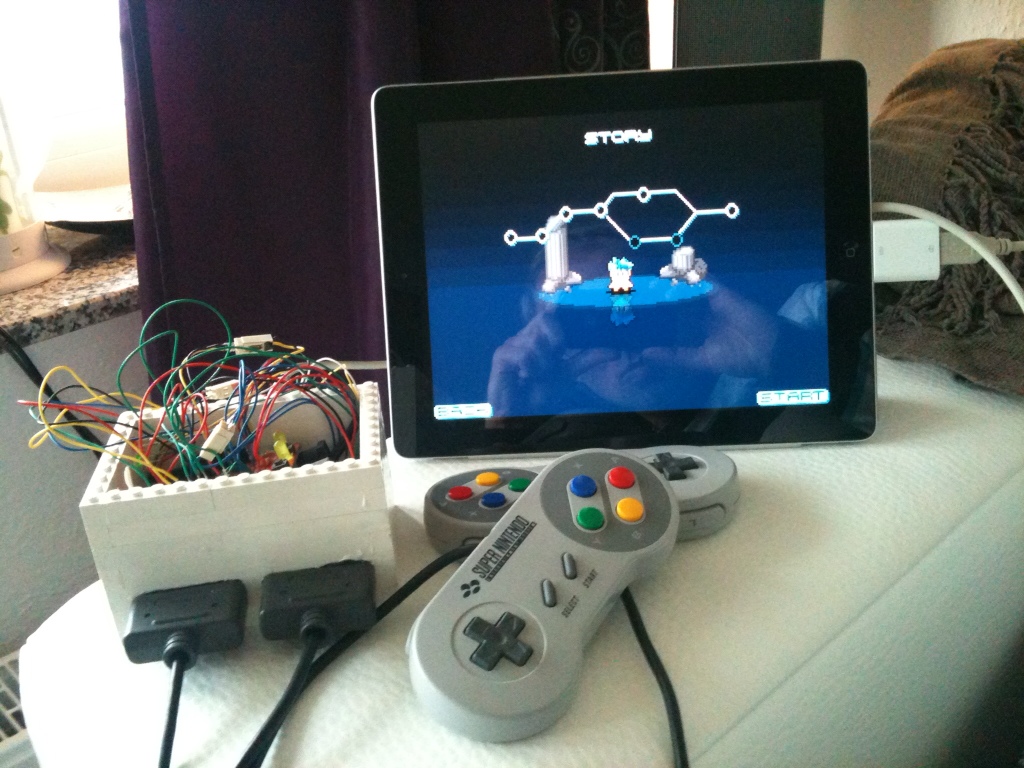
After having finished a fully working prototype for a SNES-USB-iCade adapter in a Lego enclosure I decided to design an enclosure that would not be based on Lego bricks.
Recently, I read about Ponoko. They offer CNC routing, 3D printing, and laser cutting services for quite a lot of different materials with affordable prices. Never having used a CAD software I was curious to construct an enclose for the adapter that could be laser cut by Ponoko. My plan was to first plan the whole enclosure in 3D with a CAD software and to transfer the design into a format that is suitable for Ponoko in a second step. By not only modeling the enclosure itself, but also the button, LEDs, connectors, and the PCBs I could be sure that everything fits well into the enclose in the end.
I used ViaCAD 2D3D, which is available for Windows as well as for MacOS and there there exists a 14-days trial version, which was long enough for me to come up with the 3D design. During this 3D modeling phase my digital calipers payed off a hundred times. The enclosure has openings for two SNES connectors at the sides as well as openings at the front for two LEDs, a button and a USB cable. Here is an image of the model:

After having created the 3D model, I downloaded the 2D design rules for laser cutting from Ponoko and used Inkscape to transfer the model to 2D. I have not used Inkscape very much before, so I had to get used to it first. But after a few minutes and with some good will I managed to transfer the first part of the enclosure and the other parts followed within an hour or so.
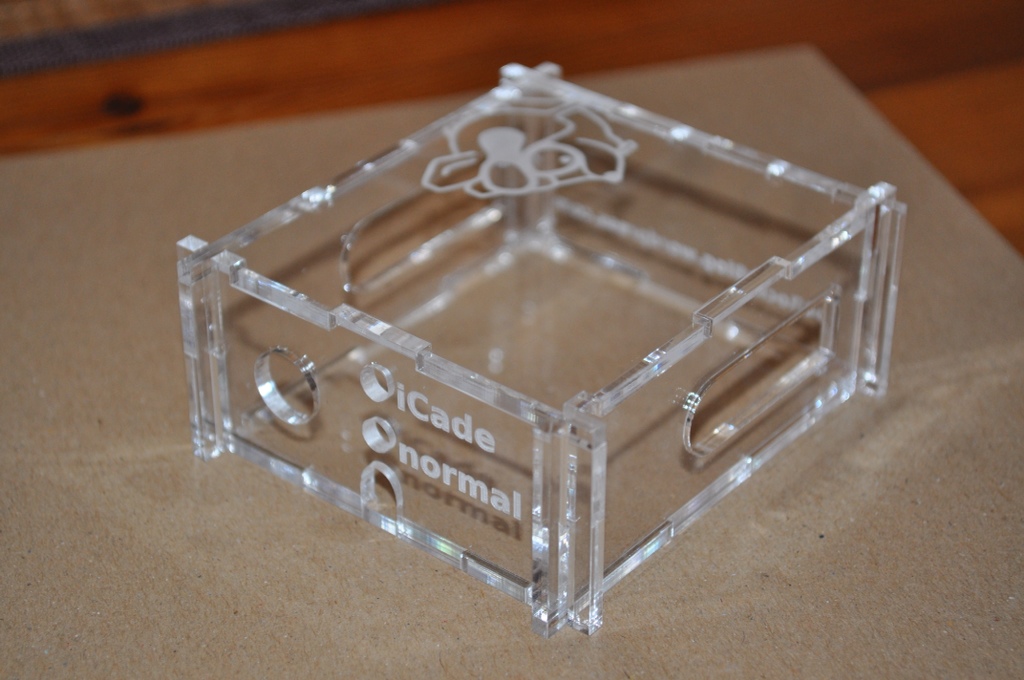
The material I chose is clear acrylic with a thickness of 0.118 in (3 mm). The thickness is important in the design of the enclosure, because the connectors on the parts are dimensioned accordingly. After having transferred the model into the 2D template, I printed it, cut every part as precisely as possible, and put everything together. I found an error in the 2D template, corrected it and printed the parts again. I found another error in this second round and also decided to place the button and the LEDs at slowly different places than originally planed. I even put the connectors, button and the LEDs at their intended places to ensure that the openings have the right dimensions. I would recommend to print and build these paper mockups before actually ordering the acrylic version to everyone …
The order procedure worked flawless. I submitted the order at abound 22 p.m. and received the shipping(!) confirmation of the enclosure the day at 10 a.m. . Two days later, the enclosure arrived at home and everything fits as intended. Here are two images of it:


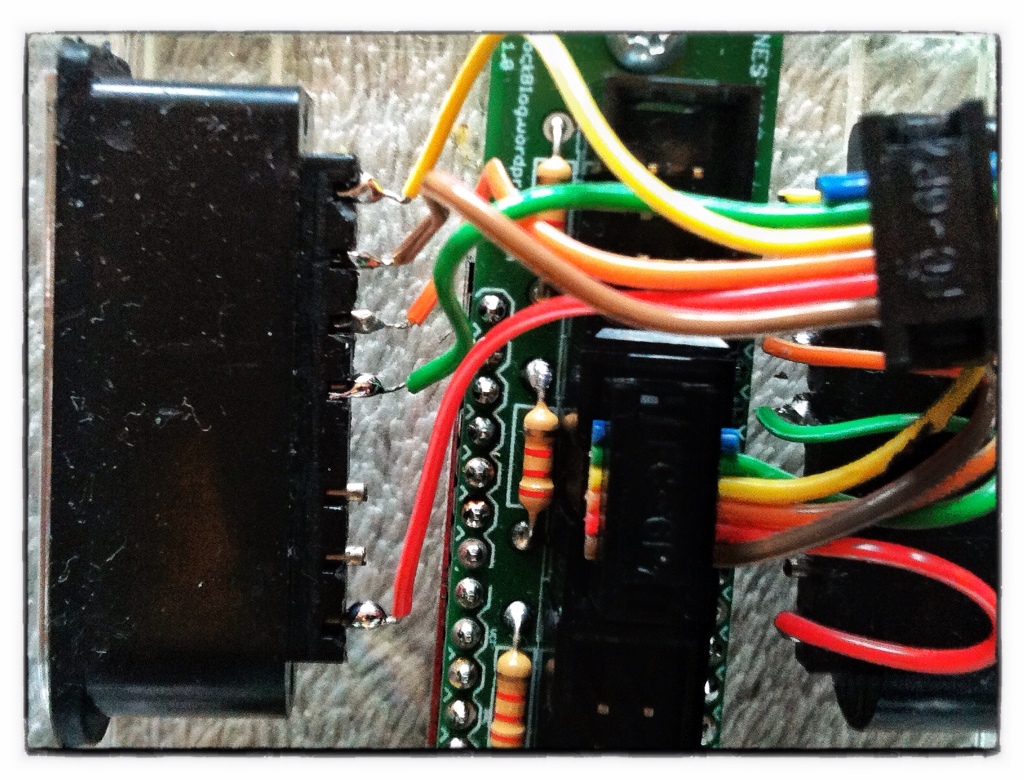
In that case superglue did its job. Alternatively, hot glue also works very well ;-)
Hi there!
Love this project, I was just wondering though how the snes controller ports are attached to the casing? Are they glued in place? Thanks!
Jack