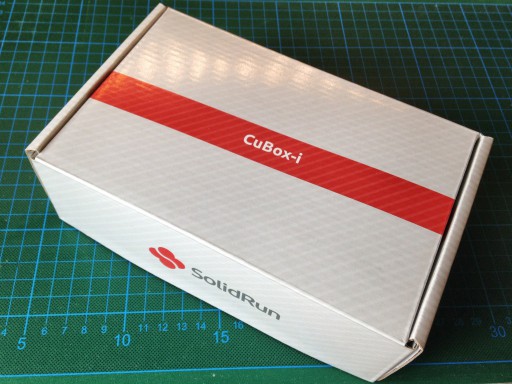
 Recently, I got a grip to a Cubox-i4Pro. It is a mini computer with low power demand and quite a few interfaces that can be useful for all kinds of things. Also, it has enough computing power to be interesting for a wide variety of applications.
In contrast to other development boards like the Raspberry Pi, the Cuboxi comes in a closed case and, thus, does not offer a set of hardware interfaces for arbitrary maker projects. It comes, however, in a neat black case that is ready to be put into your living room next to your other (set-top) box.
Introduction
Let us start with a view on the different sides of this tiny little box:
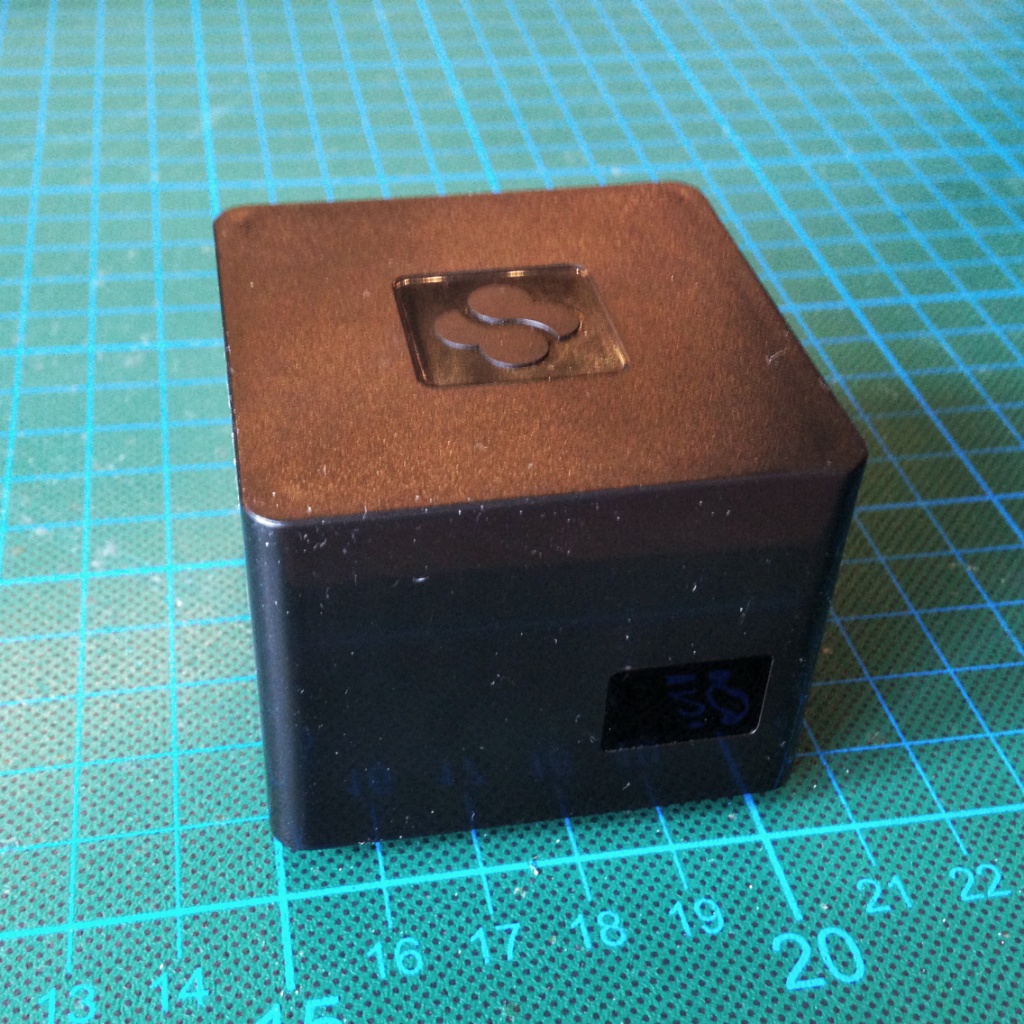
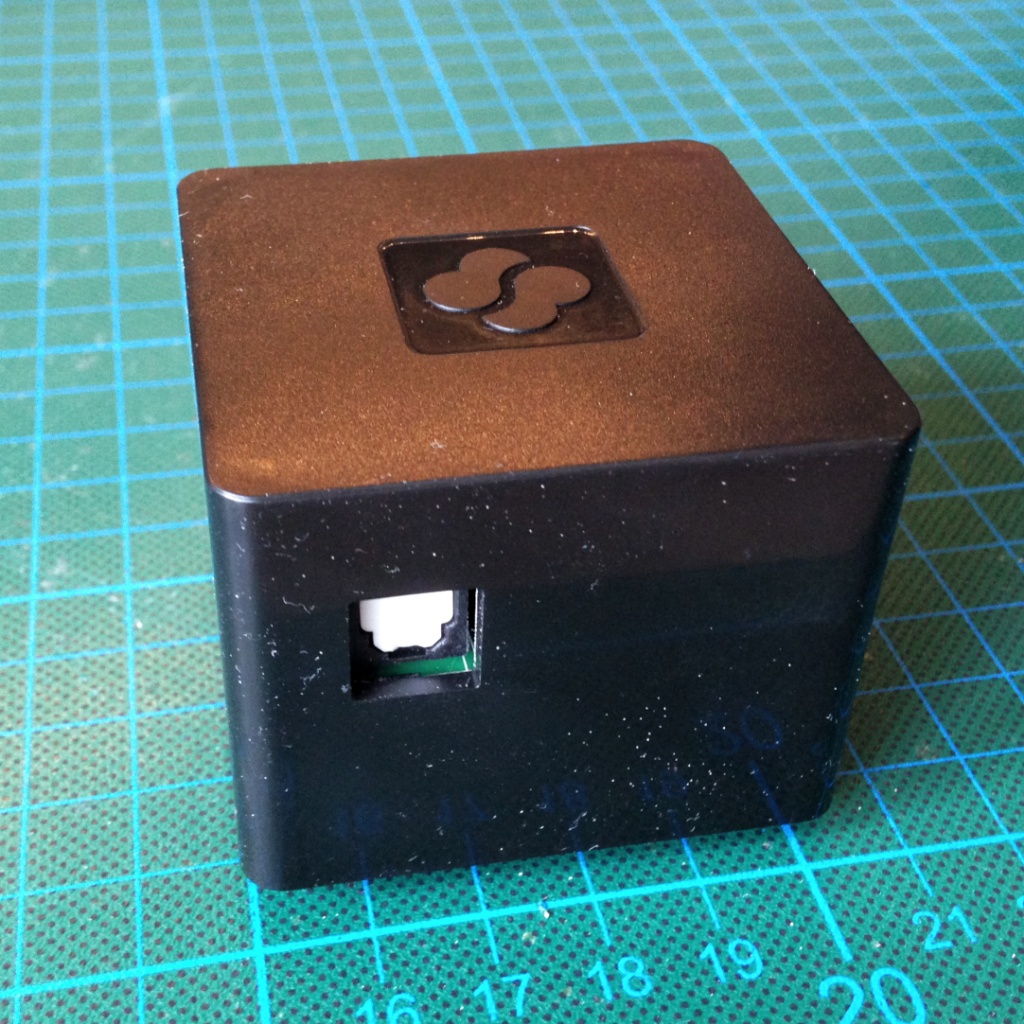
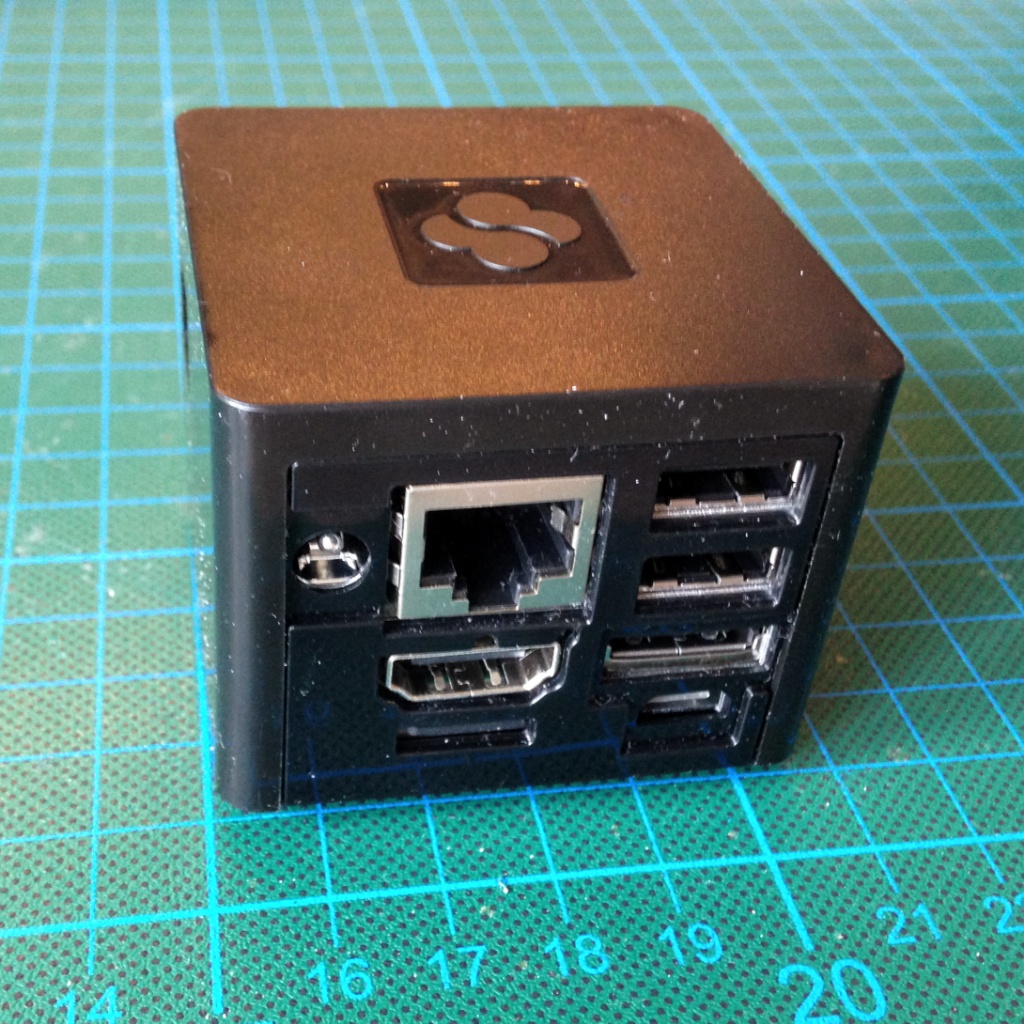
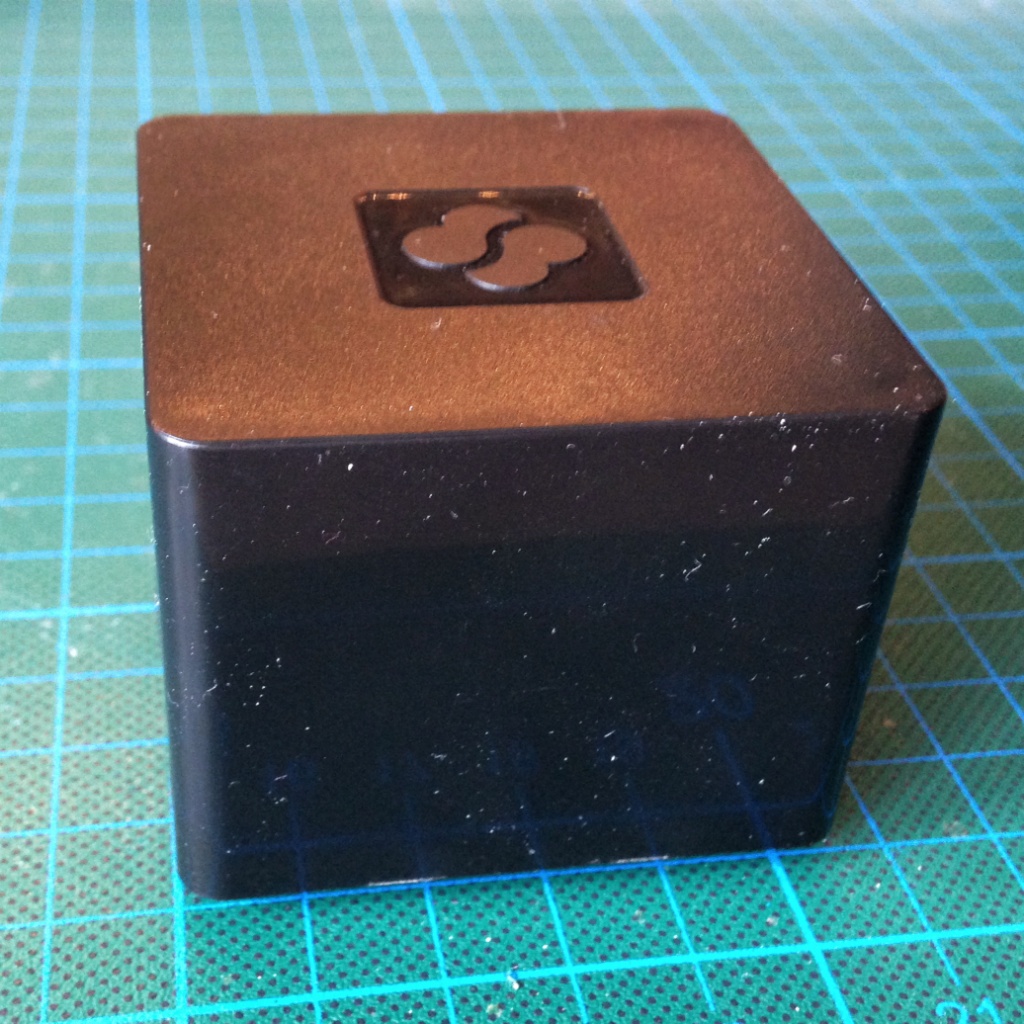
As you might have guessed from the grid lines on the images the dimensions of the Cubox-i are only 2″ x 2″ x 2″.
Hardware
An overview of the technical specifications is given in the following and shows in a plain table what the smallest and the biggest model of the Cubox-i offer. The following table is actually just a copy of the overview table given on the manufacturer’s website:
| Cubox-i1 | Cubox-i4Pro | |
|---|---|---|
| Chipset | i.MX6 Solo | i.MX6 Quad |
| Core count | 1 @ 1 GHz | 4 @ 1 GHz |
| Memory size | 512MByte DDR3 | 2GByte DDR3 |
| Memory Config | 32 bit @ 800Mbps | 64 bit @ 1066Mbps |
| 3D GPU | GC880 | GC2000 |
| 3D GPU Type | OpenGL/ES 1.1/2.0 | OpenGL/ES 1.1/2.0,OpenCL 1.1E |
| HW Video Dec/Enc | Multi Format | Multi Format |
| HDMI 1080p | 1.4, 3D support | 1.4, 3D support |
| Ethernet | 10/100 Mbps | 10/100/1000 Mbps (*) |
| USB 2.0 Host | 2 x Hosts | 2x Hosts |
| WiFi 11n/BlueTooth | no | yes |
| Micro SD Interface | yes | yes |
| eSata II 3Gbps | no | yes |
| RTC With Backup Battery | no | yes |
| Optical S/PDIFAudio Out | yes | yes |
| Micro USB to RS-232 | no | yes |
| InfraRed for Remote Control | Receiver | Receiver and Transmitter |
First Use
There is a bunch of different operating system images available for the Cubox-i. Zou can find an overview about these images in the Cubox-i wiki. To begin with, I decided to take a closer look at the Open Embedded Linux Entertainment Center (OpenELEC), whose official website can be found here.
Getting things to work was as easy as copying the image to the micro sd card and plugging power to the Cubox-i. I used an old Microsoft X-Box remote control that I happened to find in one of my cabinets. The remote control was recognized without any configuration and I was able to configure XBMC with it.
Emulation on the Cubox-i4
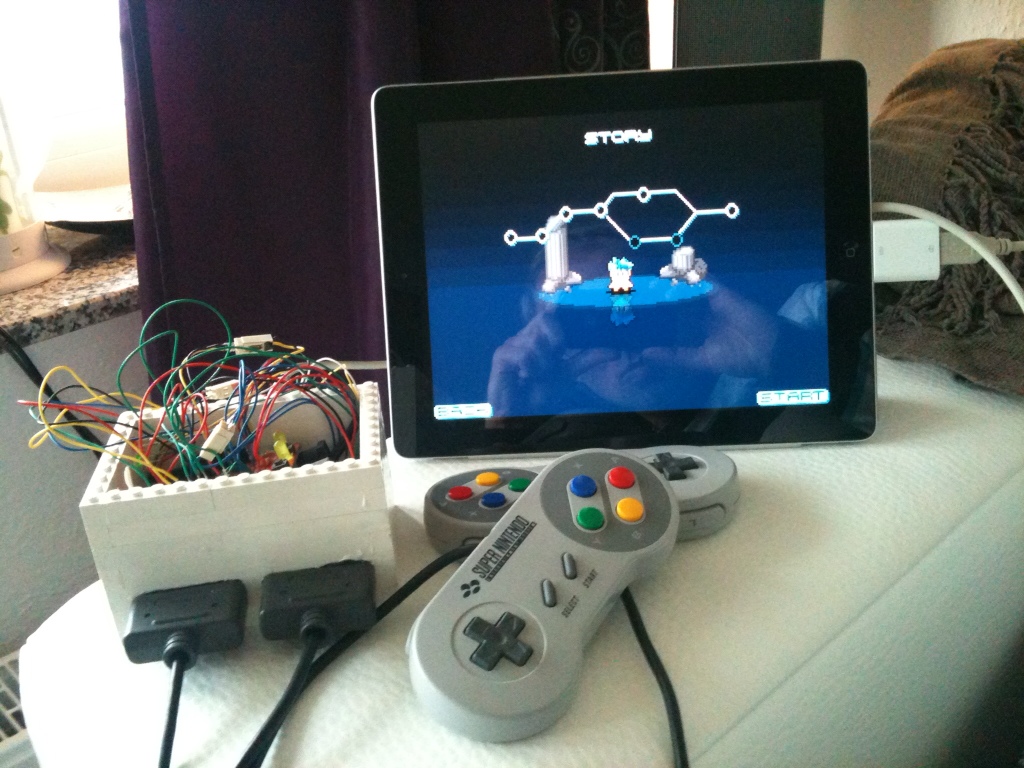
So far, I did not have detailed look at the possibilities of the Cubox-i regarding emulators and their performance. With a However, with a Debian distribution and working drivers it might be possible that some of the emulators, that are part of the RetroPie Project, can be used on the Cubox-i.
Plans are to test which of the components of the RetroPie-Setup Script can be used on the Cubox-i. If this turns out to be successful to a certain extend, the RetroPie-Setup Scriot could be adapted to also support the Cubox-i.
Conclusion and Outlook
This concludes the brief glance at the Cubox-i4. This tiny little box certainly is an interesting platform for everyone who is looking for a homemade XBMC-based media center. The Cubox-i comes in a closed case and, thus, does not offer the possibilities attach any kind of hardware to realize arbitrary maker projects. It seems to have enough computing power to be interesting as a gaming station and it still has to be looked at the possibilities of using the RetroPie-Setup Script on the Cubox-i.
This is a brief article. Do you have any related questions or comments? Feel free to post these below!

Thanks for that feedback!
Using the Setup Script for the Pi on XBian for CuBox fails. Wants me to update the “Firmware” but update would lead me to a raspberry firmware which quite obviously makes the CuBox crash.
So I guess the Script needs a few tweaks to make it fit to the CuBox Version of Linux. Maybe the Folks at Xbian could be of help there since their distribution was successfully ported to the CuBox.
I’ve loaded mine with Arch (Cubox i2). There is an easy install here: http://archlinuxarm.org/platforms/armv7/freescale/cubox-i && https://github.com/retropie/RetroPie-Setup/wiki/RetroPie-Arch-Linux-Flavor You’ll need to get packer yourself. RetroArch installs nicely and added several cores by re-pointing to armv7h during the install which it will prompt you (annoying “export EDITOR=nano”). Ran into trouble at controller configuration not recognizing my SNES controller being plugged. Trudged around for all the fixes and couldn’t force the controller to show up. Then Emulationstation freezing on startup and black screen again checked and tried all the fixes on the forums and nothing worked (I’m doing this entirely through command line). I don’t have an environment running. I didn’t test any of the cores though I probably should have but I was little irked by not being able to get the controller to work. Though if you go the Arch way here are some packages you’ll need to get to save yourself some time, “base-devel fakeroot jshon expac git libgl mesa xorg-server libxml2 glu”. I’m pretty new to this also so my technical skills are fairly weak. I might try Debian next since it’ll probably be friendlier.
I was told that XBian might also be a good starting point for testing RetroPie on the Cubox-I.
I’m waiting for mu cubox-i to arrive also, and also willing to test, which distro do you recommend? I was aiming for geexbox, but that maybe too much aimed too XBMC (my primary use).
Sure! It would be interesting to hear about the distribution that you tested and also which components of the RetroPie-Setup Script you tested.
I would not expect that the Raspberry Pi specific emulators work. But there is arrange of emulators, e.g., RetroArch, that I would expect to run on the CuBox already. Also. it would be very interesting to see EmulationStation running on the CuBox.
Looking forward to hear about you observations!
Hi got a CuBox too and am going to try your script on it anytime soon.. let met know if you care for feedback.
Balls.