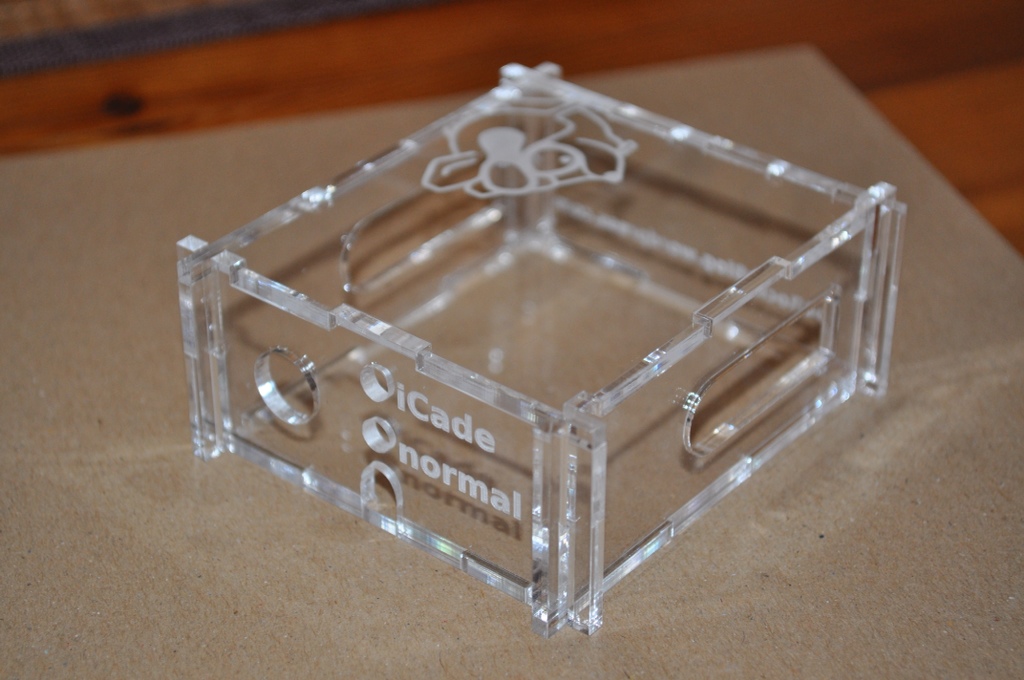
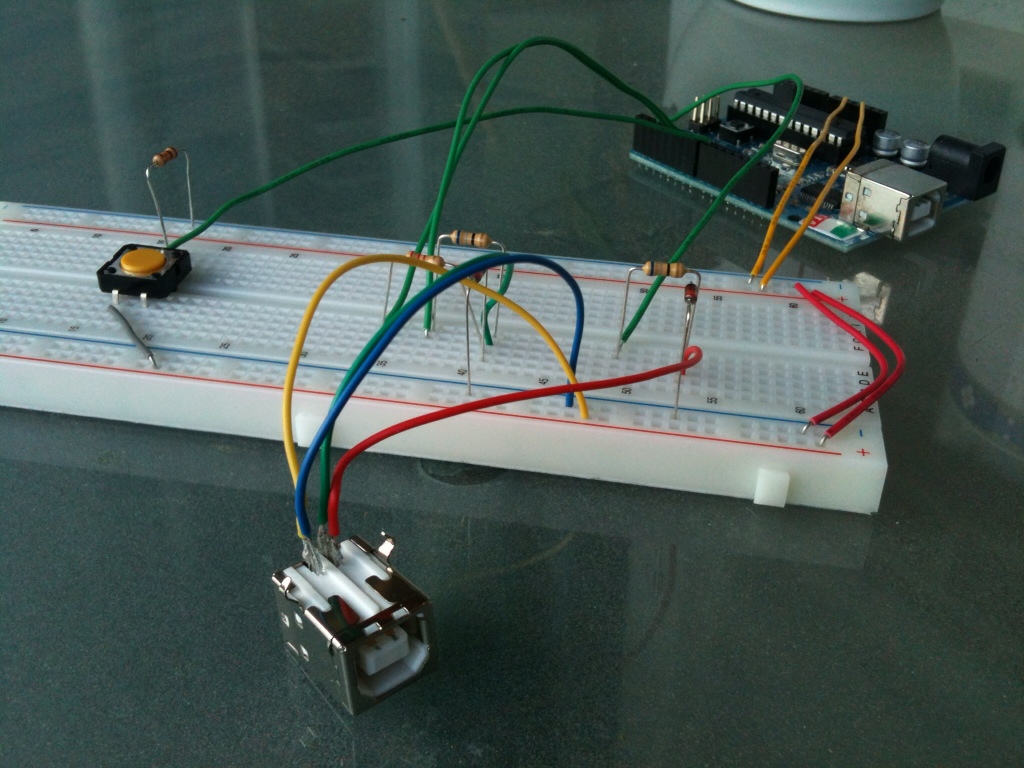
Previously, I presented my SNES-to-USB-Adapter. The adapter emulates a USB keyboard with which it is also possible to play iCade games on the iPad. Now, my ambition is to give it a more professional and solid look and one thing to do would be to put most of the wiring into a printed-circuit board (PCB).
Therefore, I did a small survey about available PCB layout software for Macs and found EAGLE working well for me. As far as I have seen, EAGLE is widely used and there exist versions for Windows, Mac, and Linux platforms. The tutorials from Sparkfun and also this tutorial already helped me a lot and let me design my first PCB.
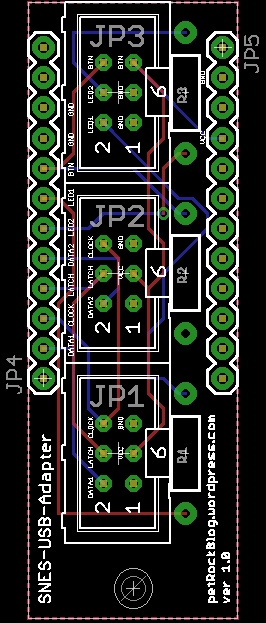
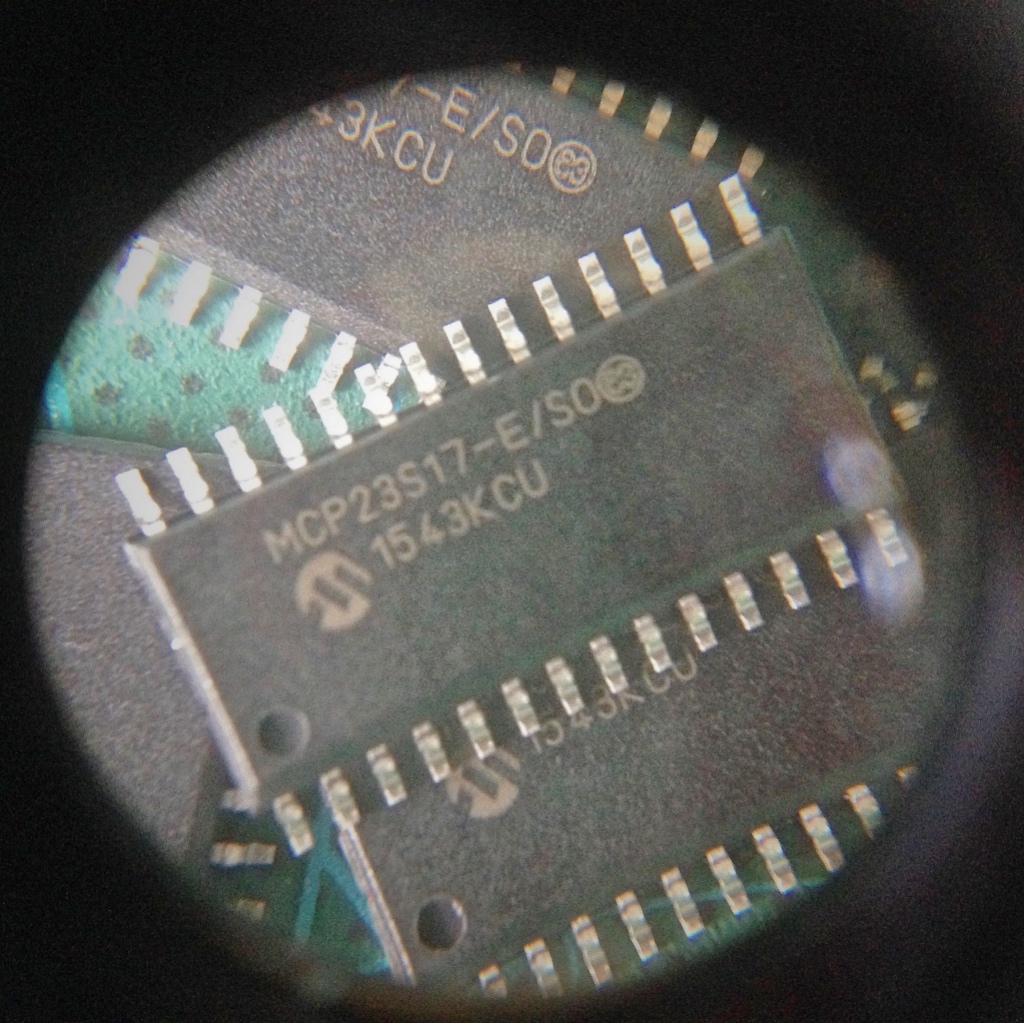
With another goal being to shrink the whole design of the first prototype of the adapter, I decided to try out the ProMicro board, which is Arduino compatible and very small. Furthermore, it already has the capability of presenting itself as a USB keyboard to its host. With the given schematics of the ProMicro board, which can be downloaded from the product page, I designed a PCB which captures the same functionality as my first prototype of the adapter. Besides all the wiring that has gone into the PCB, however, all external interfaces, like the SNES connectors and the button, are now nicely connected with shrouded headers and ribbon crimp connectors. The final schematic looks like this:

Update 1:
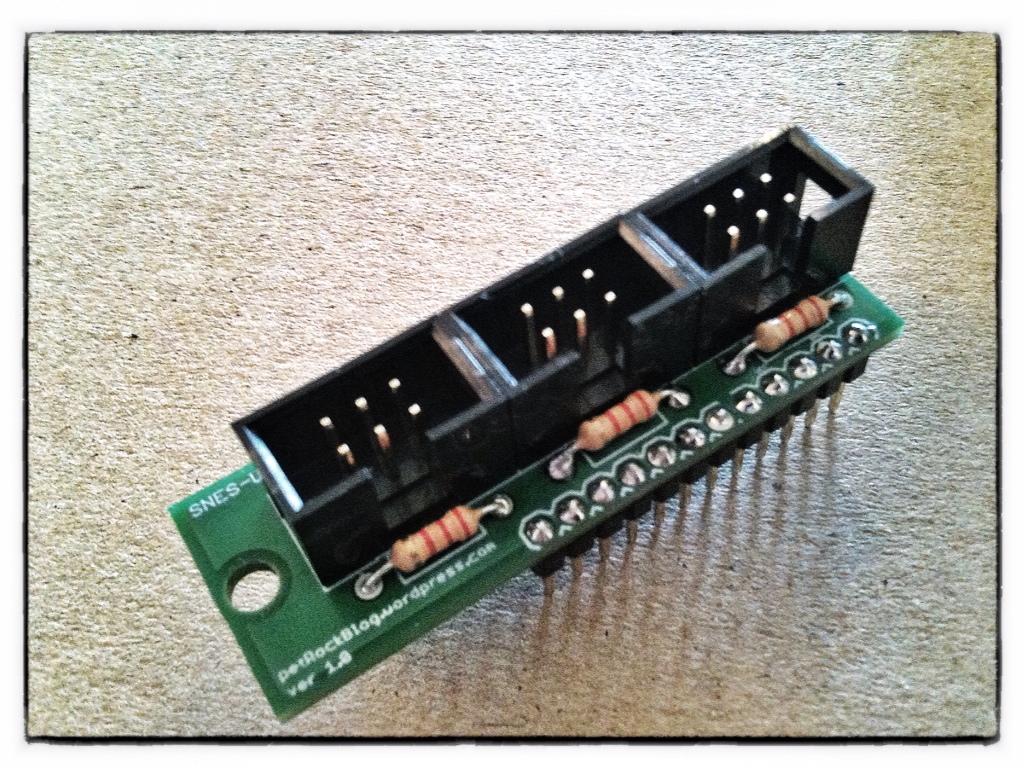
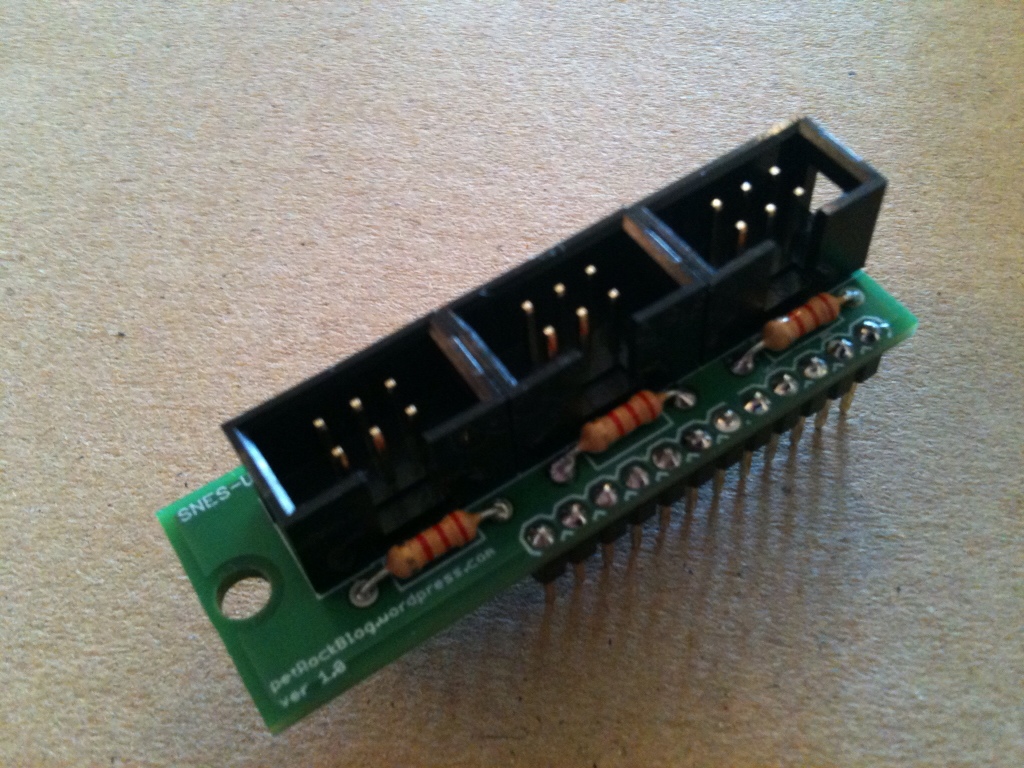
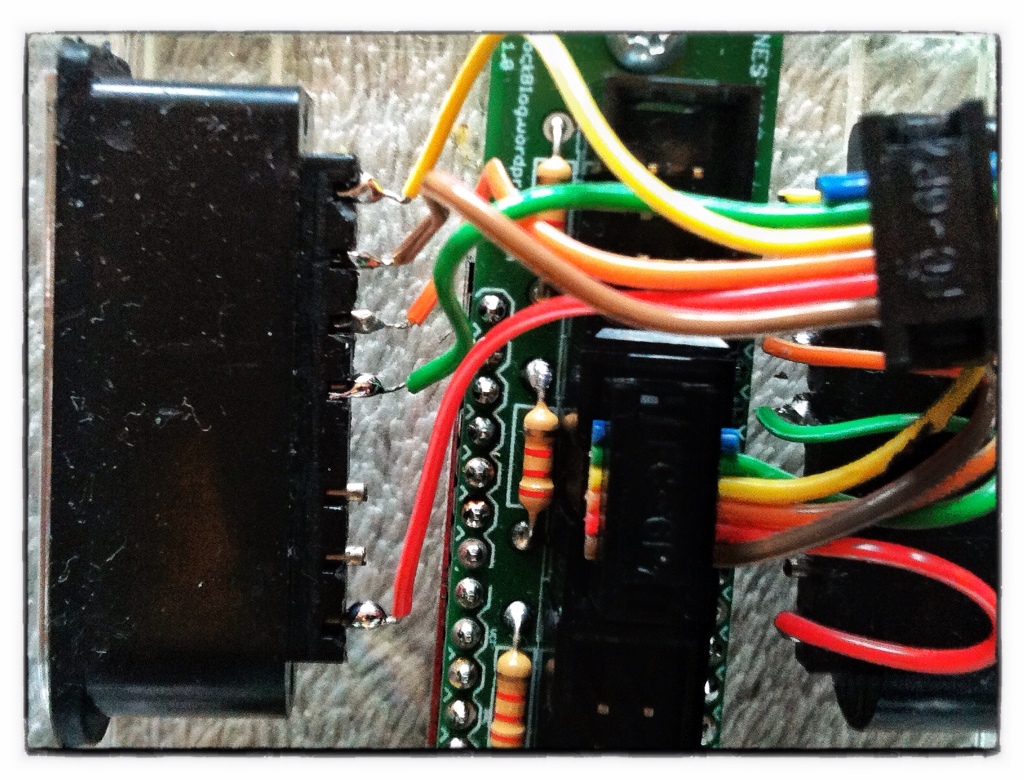
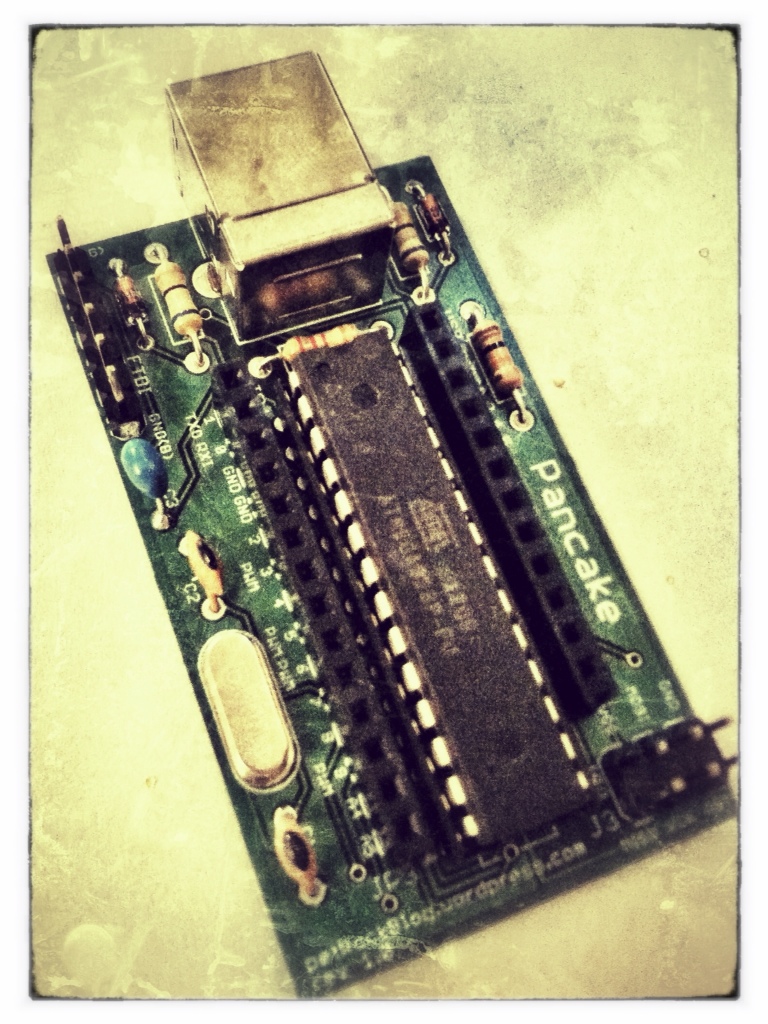
A few days ago I received the PCBs. I decided to order them from PCB Pool and I am very satisfied with their service. The pricing is very transparent, they provide a plugin for EAGLE, and you can opt for mail notifications throughout the production process. These are the images that I received during the last days. They show the board after drilling, resist exposure, tin stripping, and burning-in:

I assembled and tested one of the boards and am glad that everything is working!

Actually, I received more than ten of these boards, so if someone is interested to also get one of these, just let me know …
Update 2:
You can download the schematics and the board layout in EAGLE format here: [wpdm_package id=5].


No, i got my PCB fabrication & assembly from Seeed Studio Fusion https://www.seeedstudio.com/fusion_pcb.html their boards’ quality is quite good!
Hey.. I want to upload my PCB design files here. Can anybody have experience with this..?
http://www.technotronix.us/pcb_fabrication.html
thx man, helped out a lot. My pitendo is almost finished thanks to your input .
Yes, it is possible to hook the controllers directly to the GPIOs. Take care for short circuits, though! The RetroPie GPIO Adapter (https://www.petrockblock.com/2012/10/21/the-retropie-gpio-adapter/) “just” makes it easier to build a connection to between the GPIOs and the SNES controllers, while providing transient and short circuit protection at the same time. It also provides a push button … You might want to have a look at the schematics, which can also be found at https://www.petrockblock.com/2012/10/21/the-retropie-gpio-adapter/.
Hej, love your post. I just started my own pi-tendo project. but i was wondering. Is it nescesary to use the extra pcb. Isn’t it possible to just hook the original snes controller ports directly to the gpio?
I have uploaded the files to the Github repository of the blog. You can find the link at the end of the article above.
Is it possible to upload the PCB files?
I am also interested in the design files if you are able to toss them up somewhere :) great project!
Do you have the EAGLE files so I can order my own PCB?
Great work. Do you have PCBs left?
I am in need of two.
cheers
klaus from germany
can i have also one
Belgium
Can I have one? =)
I live in Netherlands
I’d love one! How can we make it happen and how much do they cost? I’m in the United States. It would be awesome to make an snes box and play some games with my cousins like old times.
I’d like one.
Do you still have any of theses boards avalible?
If so could I buy one
p.s I live in Australia
Thank you!
The resistors can be used for two LEDs and/or a button which all would be connected to the pins of JP3 (http://petrockblog.files.wordpress.com/2012/04/wpid-photo-30-04-2012-1534.jpg)
Hello Florian!
I think this is a great idea and I’ll give it a try when my Pi arrives… Just one question in advance: Why do you use those resistors? Couldn’t quite make out there function yet… THX!
Cheers,
Damian
Florian… you wrote “Actually, I received more than ten of these boards, so if someone is interested to also get one of these, just let me know …”
I am from Germany. Please let me know if you still have one for sale.
Actually, it is already possible to use the adapter board with NES connectors! This is possible, because both, SNES and NES connectors, have the same number of pins and (nearly) the same polling protocol.
I would be interested in a nes version of this PCB. What costs would be involved, and would you be willing to do it? Send me an email if your interested, wussie(at)gmail.com