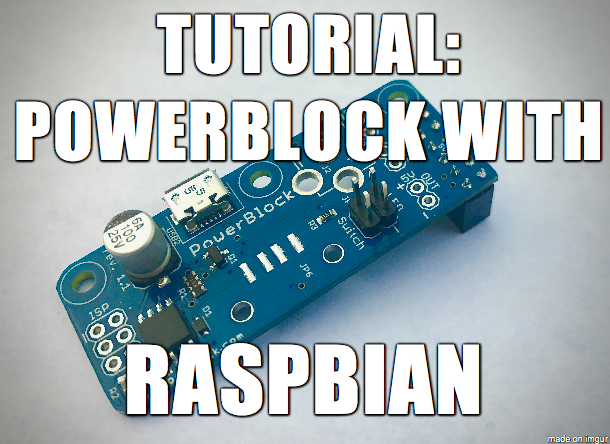
This is a post as part of a tutorial series about getting to start with the PowerBlock with various images for the Raspberry Pi. In this tutorial we will learn how to use the PowerBlock with RetroPie, a very popular distribution for retro gaming.
Preparation
If you have not already done it, we need to download the RetroPie image first. You get the image on the official RetroPie downloads site. When you have downloaded the image you need to load it on your SD card. You can follow the Raspberry Pi Software guide for that, if you are unsure how to do that.
Installing the PowerBlock Hardware
Make sure that the Raspberry Pi is switched off before you do any hardware work on it. Attach the PowerBlock with its 2×6 female header to the GPIO pins of the Raspberry Pi as shown on the following image:
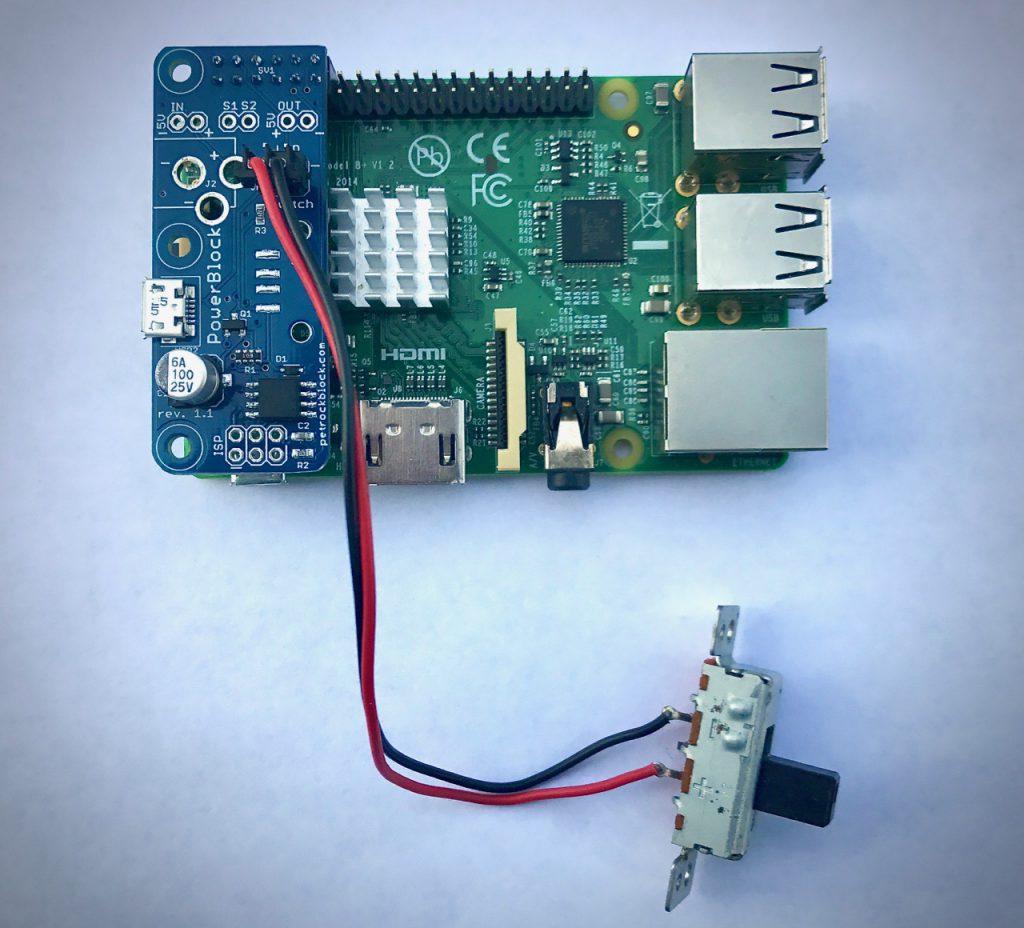
Attach your power switch to the two pins that are marked with “Switch”. Again, the above image shows that exemplarily.
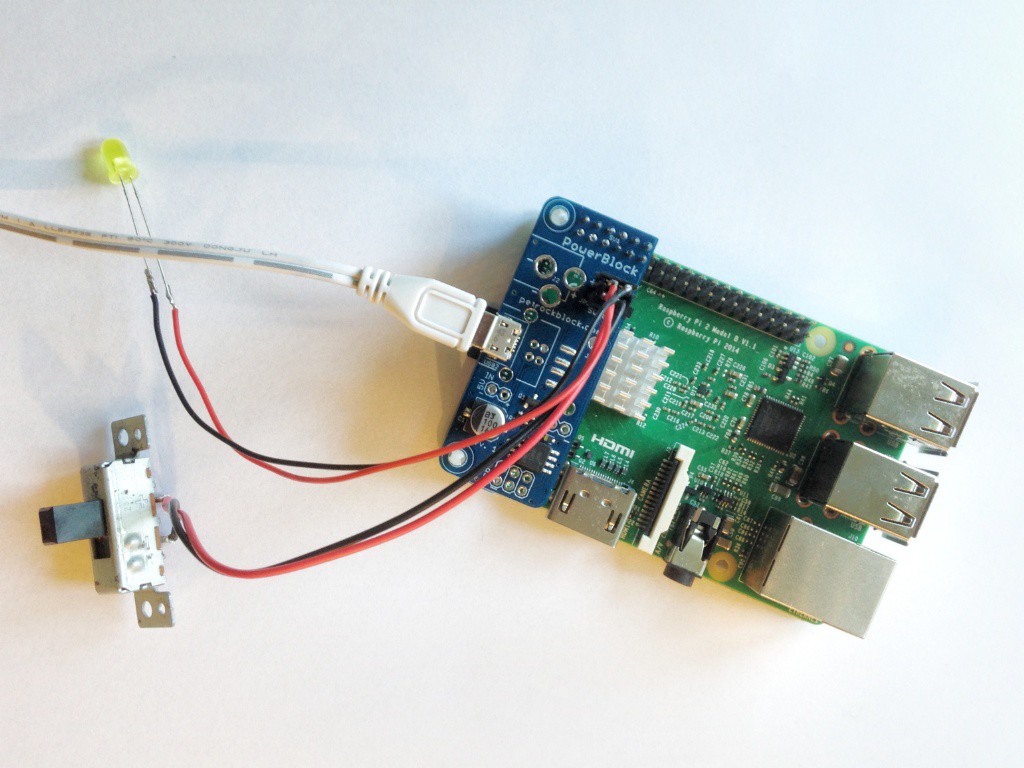
Attach the micro USB connector of your power supply to the micro USB connector of the PowerBlock:
Installing the PowerBlock Service
We need to go to the console in order to install the PowerBlock driver. If we are in EmulationStation (the graphical front-end of RetroPie) we can exit it by pressing F4.
In order to install the PowerBlock driver and service we can follow the quick installation instructions as given on the driver Github site. To install the driver and the service you just need to call this one command:
wget -O - https://raw.githubusercontent.com/petrockblog/PowerBlock/master/install.sh | sudo bash
That command will download the installation script of the PowerBlock service and start the script. It will compile and install the driver as well as install and start the service.
When the script is finished, you get a success or failure message in the console. In case of a success, you can also see that the optional status LED stopped to flash and, instead, is permanently switched on.

Could you post an image of your hardware setup here, please? The micro USB connector is supposed to *only* be plugged into the PowerBlock. You need to use a toggle switch that is connected to the two “switch” pins of the PowerBlock.
I installed the powerblock using your one line script and the power isn’t working when plugged into the powerblock, and if I plug the power into the main port the pi starts up and then shuts itself down. I’m using a small rocker switch, I’m not sure if that’s a problem. I’m not sure if it installed correctly and now I’m not sure what to do to fix this.
You need to use a toggle switch (and not a momentary switch). The behaviour that you describe very well suggests that the PowerBlock sees a “switch off” right after the boot completed and, in turn, it initiates a shutdown. Hope that helps!
I have completed all steps above. when power socket is switched on my pi doesnt power up. I have to push my momentary push button on for it to start up. The led will fade in and out slowly i can see my retropie splash screen then the led will change to faster fade in and out then completely shut down. What am i doing wrong here?
works great, i have no clue with linux, managed it with your 1 line install.
I’d recommend to everyone.