Homepage › Forums › RetroPie Project › Peoples Projects › Another SNES Case Build, Green, bronzed and shiny!
- This topic has 9 replies, 4 voices, and was last updated 10 years, 4 months ago by
 ruckage.
-
AuthorPosts
-
12/20/2015 at 23:30 #112163
 pakmule87Participant
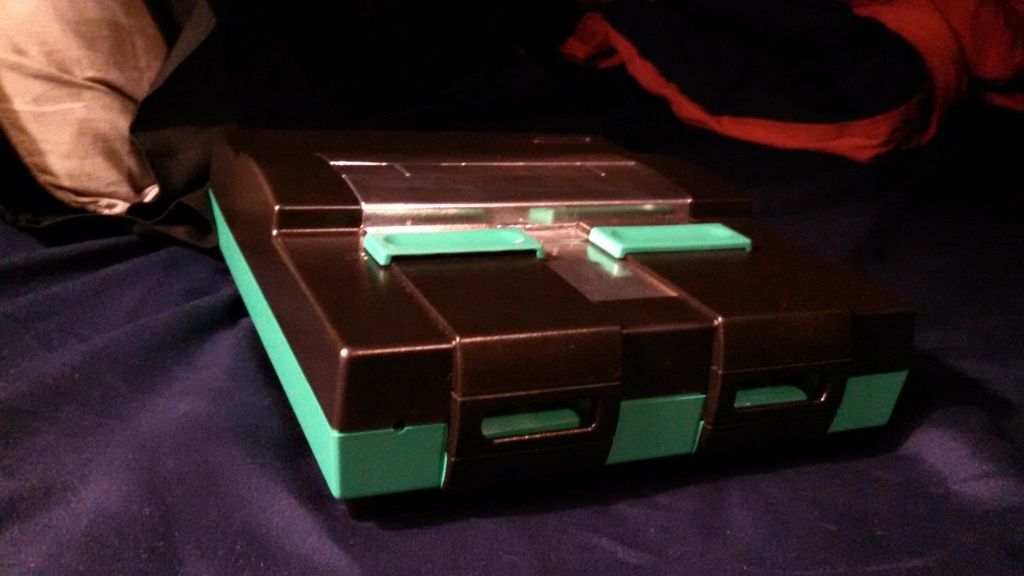
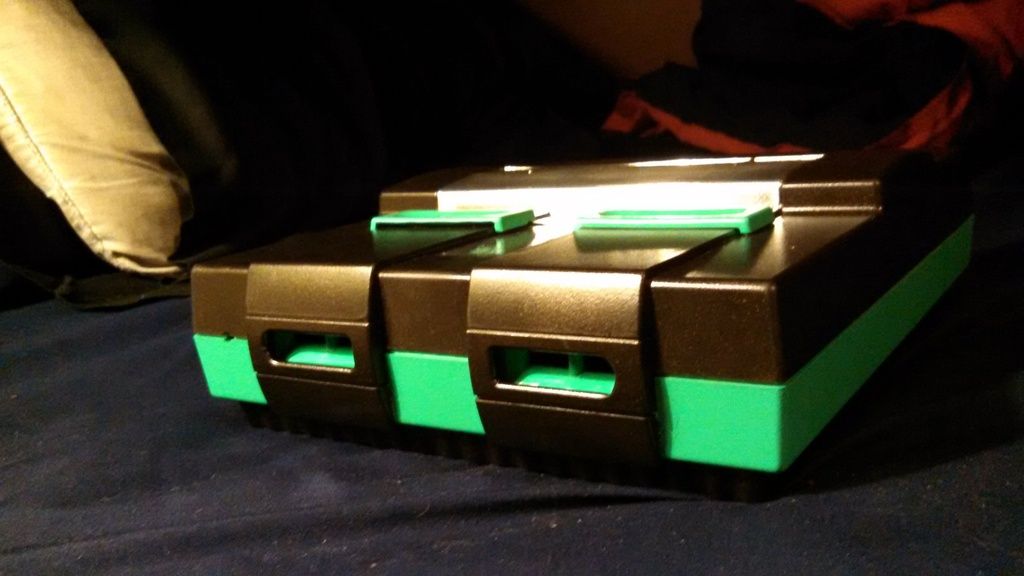
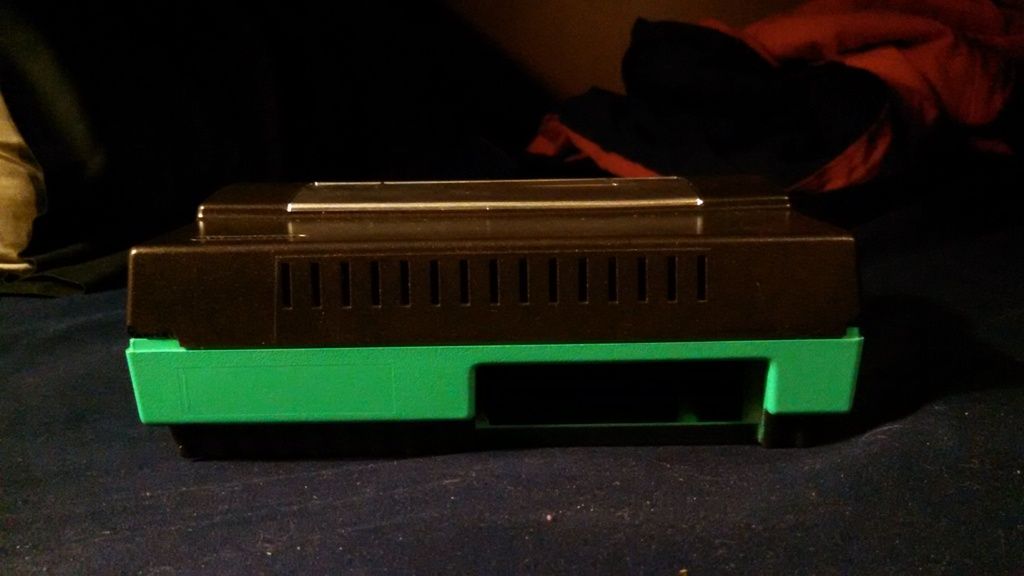
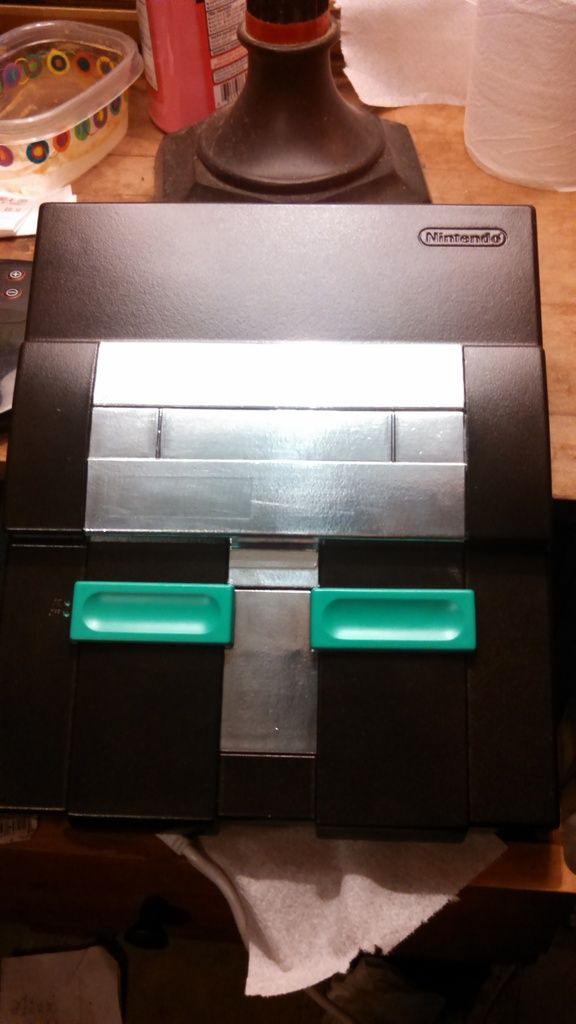
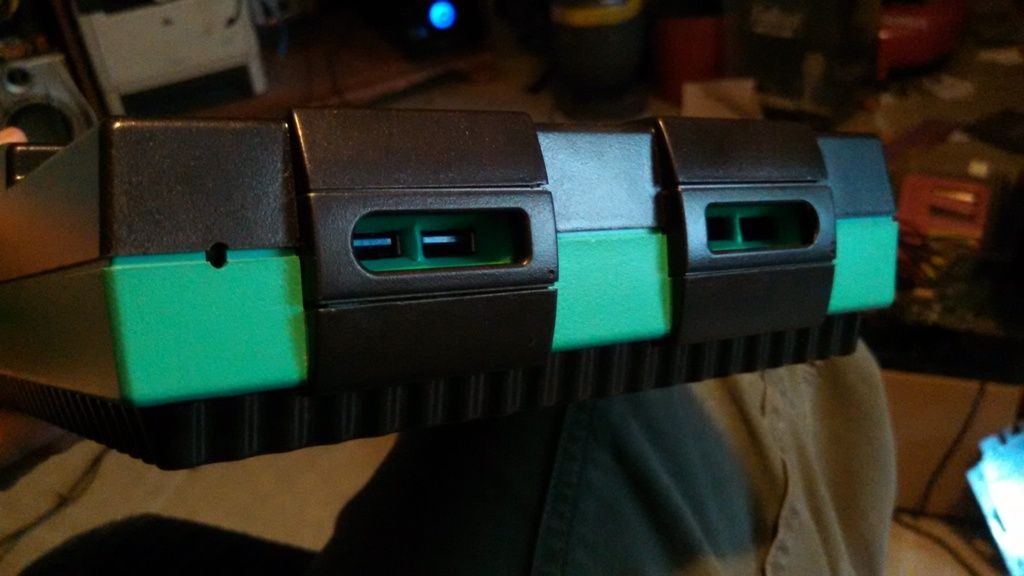
At long last, finally got back to building my case. I have been preoccupied with having a PC at my disposal, so that distracted me a good bit. The colors are Rubbed Bronze, which isn’t quite a black, with bronze metal flakes (Rustoleum collection) with Sea Green (Krylon collection), with some foil tape just because.
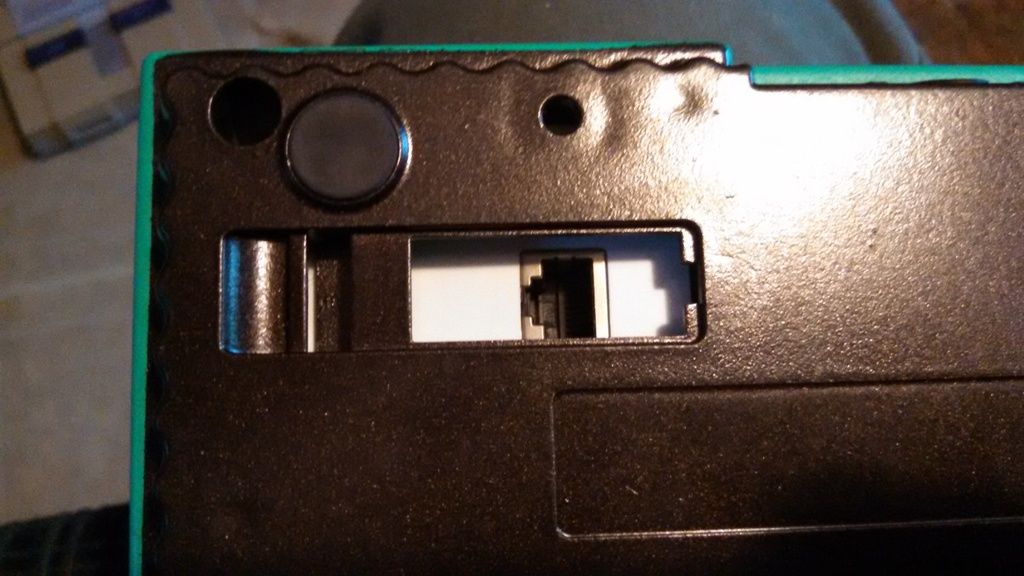
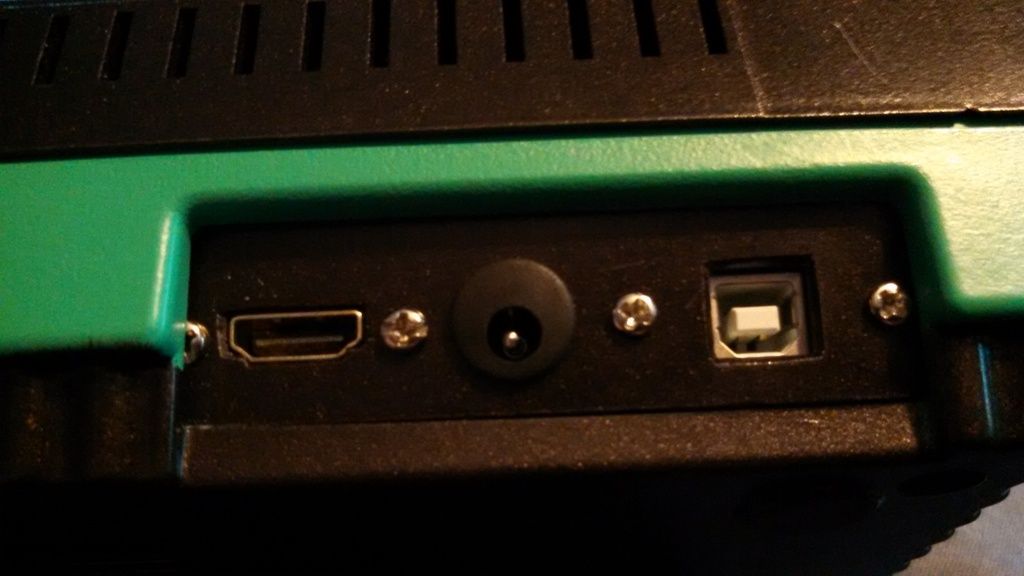
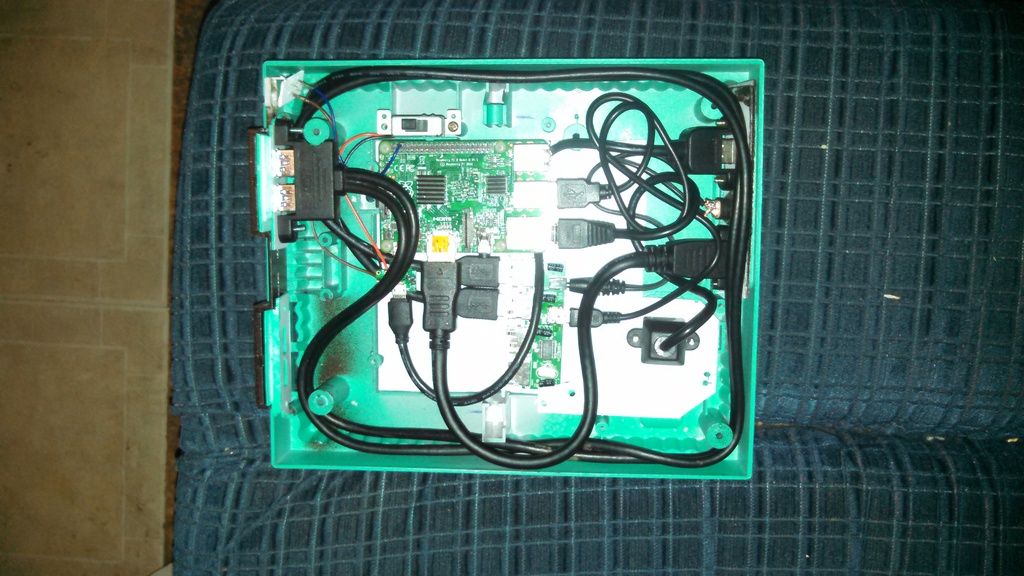
Inside, I have a powered Belkin USB hub (thanks Amazon for having it really cheap), extensions for HDMI, power to the hub, power to the Pi, ethernet which is put where the expansion bay was, and dual USB panel mount extensions (still waiting on the last one to come in). I also have a 5mm RGB LED set up from the Mausberry circuit currently running no resistors for a blinding teal lighting when it is on. I also used a good bit of polystyrene (the kinda stuff they use for model kits) to make my various panels and mounts.
What I started with

The guts (just imagine another dual USB extension in there…)
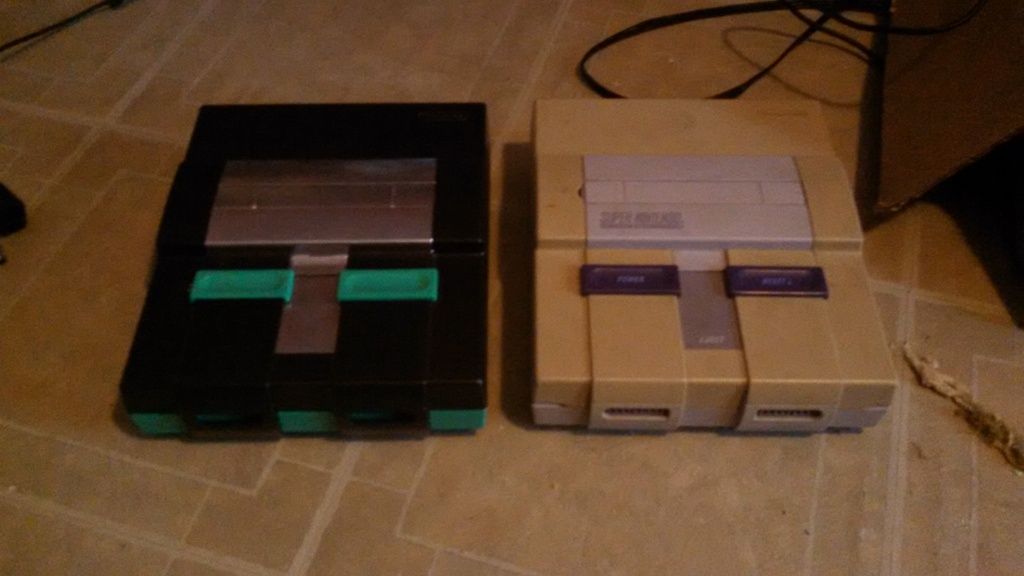
And next to another SNES
12/21/2015 at 00:05 #112167rdhanded2ParticipantLooks awesome! The dual usb panel mounts fit great. Did you make the attachment piece for them?
12/21/2015 at 00:08 #112168pakmule87ParticipantYup. Took forever. Definitely would have been nice to have a 3D printer instead of doing it the slow and agonizing way.
12/22/2015 at 22:49 #112315rdhanded2ParticipantWell if anyone here has a 3D printer and wants to tackles them I would buy a few!
12/23/2015 at 02:51 #112335pakmule87ParticipantTo be honest, I was actually hoping to try and make some to sell, but when you actually get the full list just for the cost to build what I have, before adding in a WiFi adapter and Wireless keyboard/mouse, runs around $200. And then you have to wait on some of the parts to come from China which takes 2-4 weeks, since to be honest, even though the panels took hours a piece, I was also working from not having a proper template to trace for the cut outs (which wouldn’t save much trouble), and with the power of Netflix and Hulu on my side to keep me from getting bored, it actually was kinda fun to make them :P
02/12/2016 at 01:44 #116819MRKaneParticipantThat’s a seriously impressive build! Are you using the switch as on/off for power or is it wired directly?
Some case mounts are just things stuffed in a box with a bit of paint. But this, this is art!
02/12/2016 at 03:10 #116829pakmule87ParticipantI have the original switch soldered to work with the Mausberry shutdown switch, though having to hunt down a better script than what is originally setup with it was a little trouble, but having it fully shutdown from the switch as intended is very nice to have. Had also originally planned to have a reset switch too, but I am happy enough as it is.
02/12/2016 at 03:44 #116831rdhanded2ParticipantThe script I got from Mausberry’s website performs a full shutdown for me. Have you had issues with it?
02/12/2016 at 03:59 #116833pakmule87ParticipantIt would shutdown too soon to complete all the processes, not sure if my Pi is just slow or the timing was too fast, and I just wanted to be 100% sure everything had come to a stop before it killed the power.
02/12/2016 at 21:46 #116894ruckageParticipantLooks fantastic, amazing transformation.
-
AuthorPosts


- The forum ‘Peoples Projects’ is closed to new topics and replies.