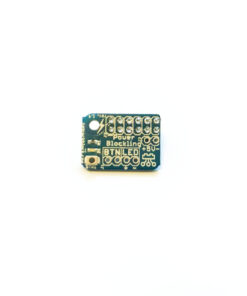
PowerBlockling
A tiny power button and status indicator for the Raspberry Pi

Safe Shutdowns

Compact and Affordable

Introducing the PowerBlockling, a compact yet powerful solution designed to enhance your Raspberry Pi experience with a simple, yet effective power button and status indicator. This device is designed to seamlessly integrate into your Raspberry Pi setup, offering a user-friendly way to manage power without the need for soldering.
The PowerBlockling is not just a power button solution; it’s a testament to simplicity and affordability. It’s designed to be the go-to power button for Raspberry Pi users, offering a straightforward way to manage power without the complexity of soldering. Whether you’re a beginner or an experienced Raspberry Pi user, the PowerBlockling is the perfect addition to your setup, providing a reliable and user-friendly power management solution.
The PowerBlockling features a tiny, momentary power button that allows for safe shutdowns without data loss, ensuring your Raspberry Pi is always ready to go with just a press.
A green LED indicator provides clear visual feedback on the power status, making it easy to monitor the Raspberry Pi’s power state at a glance.
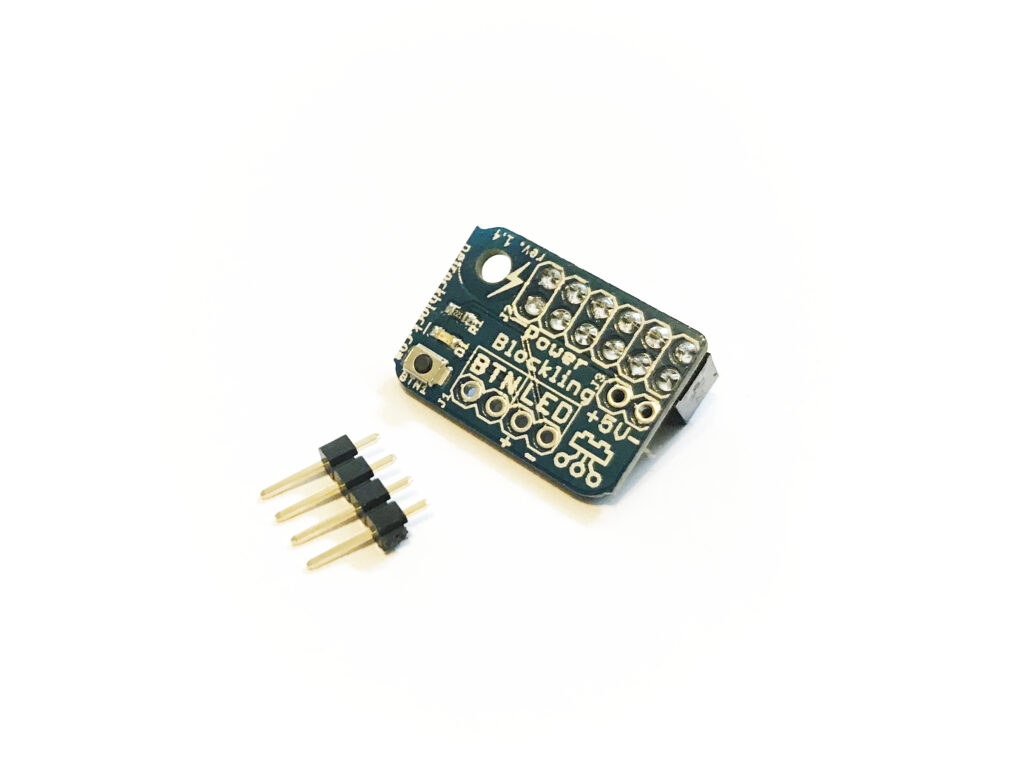
Included is a 1×4 male pin header, which, when soldered, allows for the attachment of an optional external power button and indicator LED, offering even more customization options.
With just one mounting hole, the PowerBlockling is designed for quick and easy installation, allowing you to get up and running in seconds.
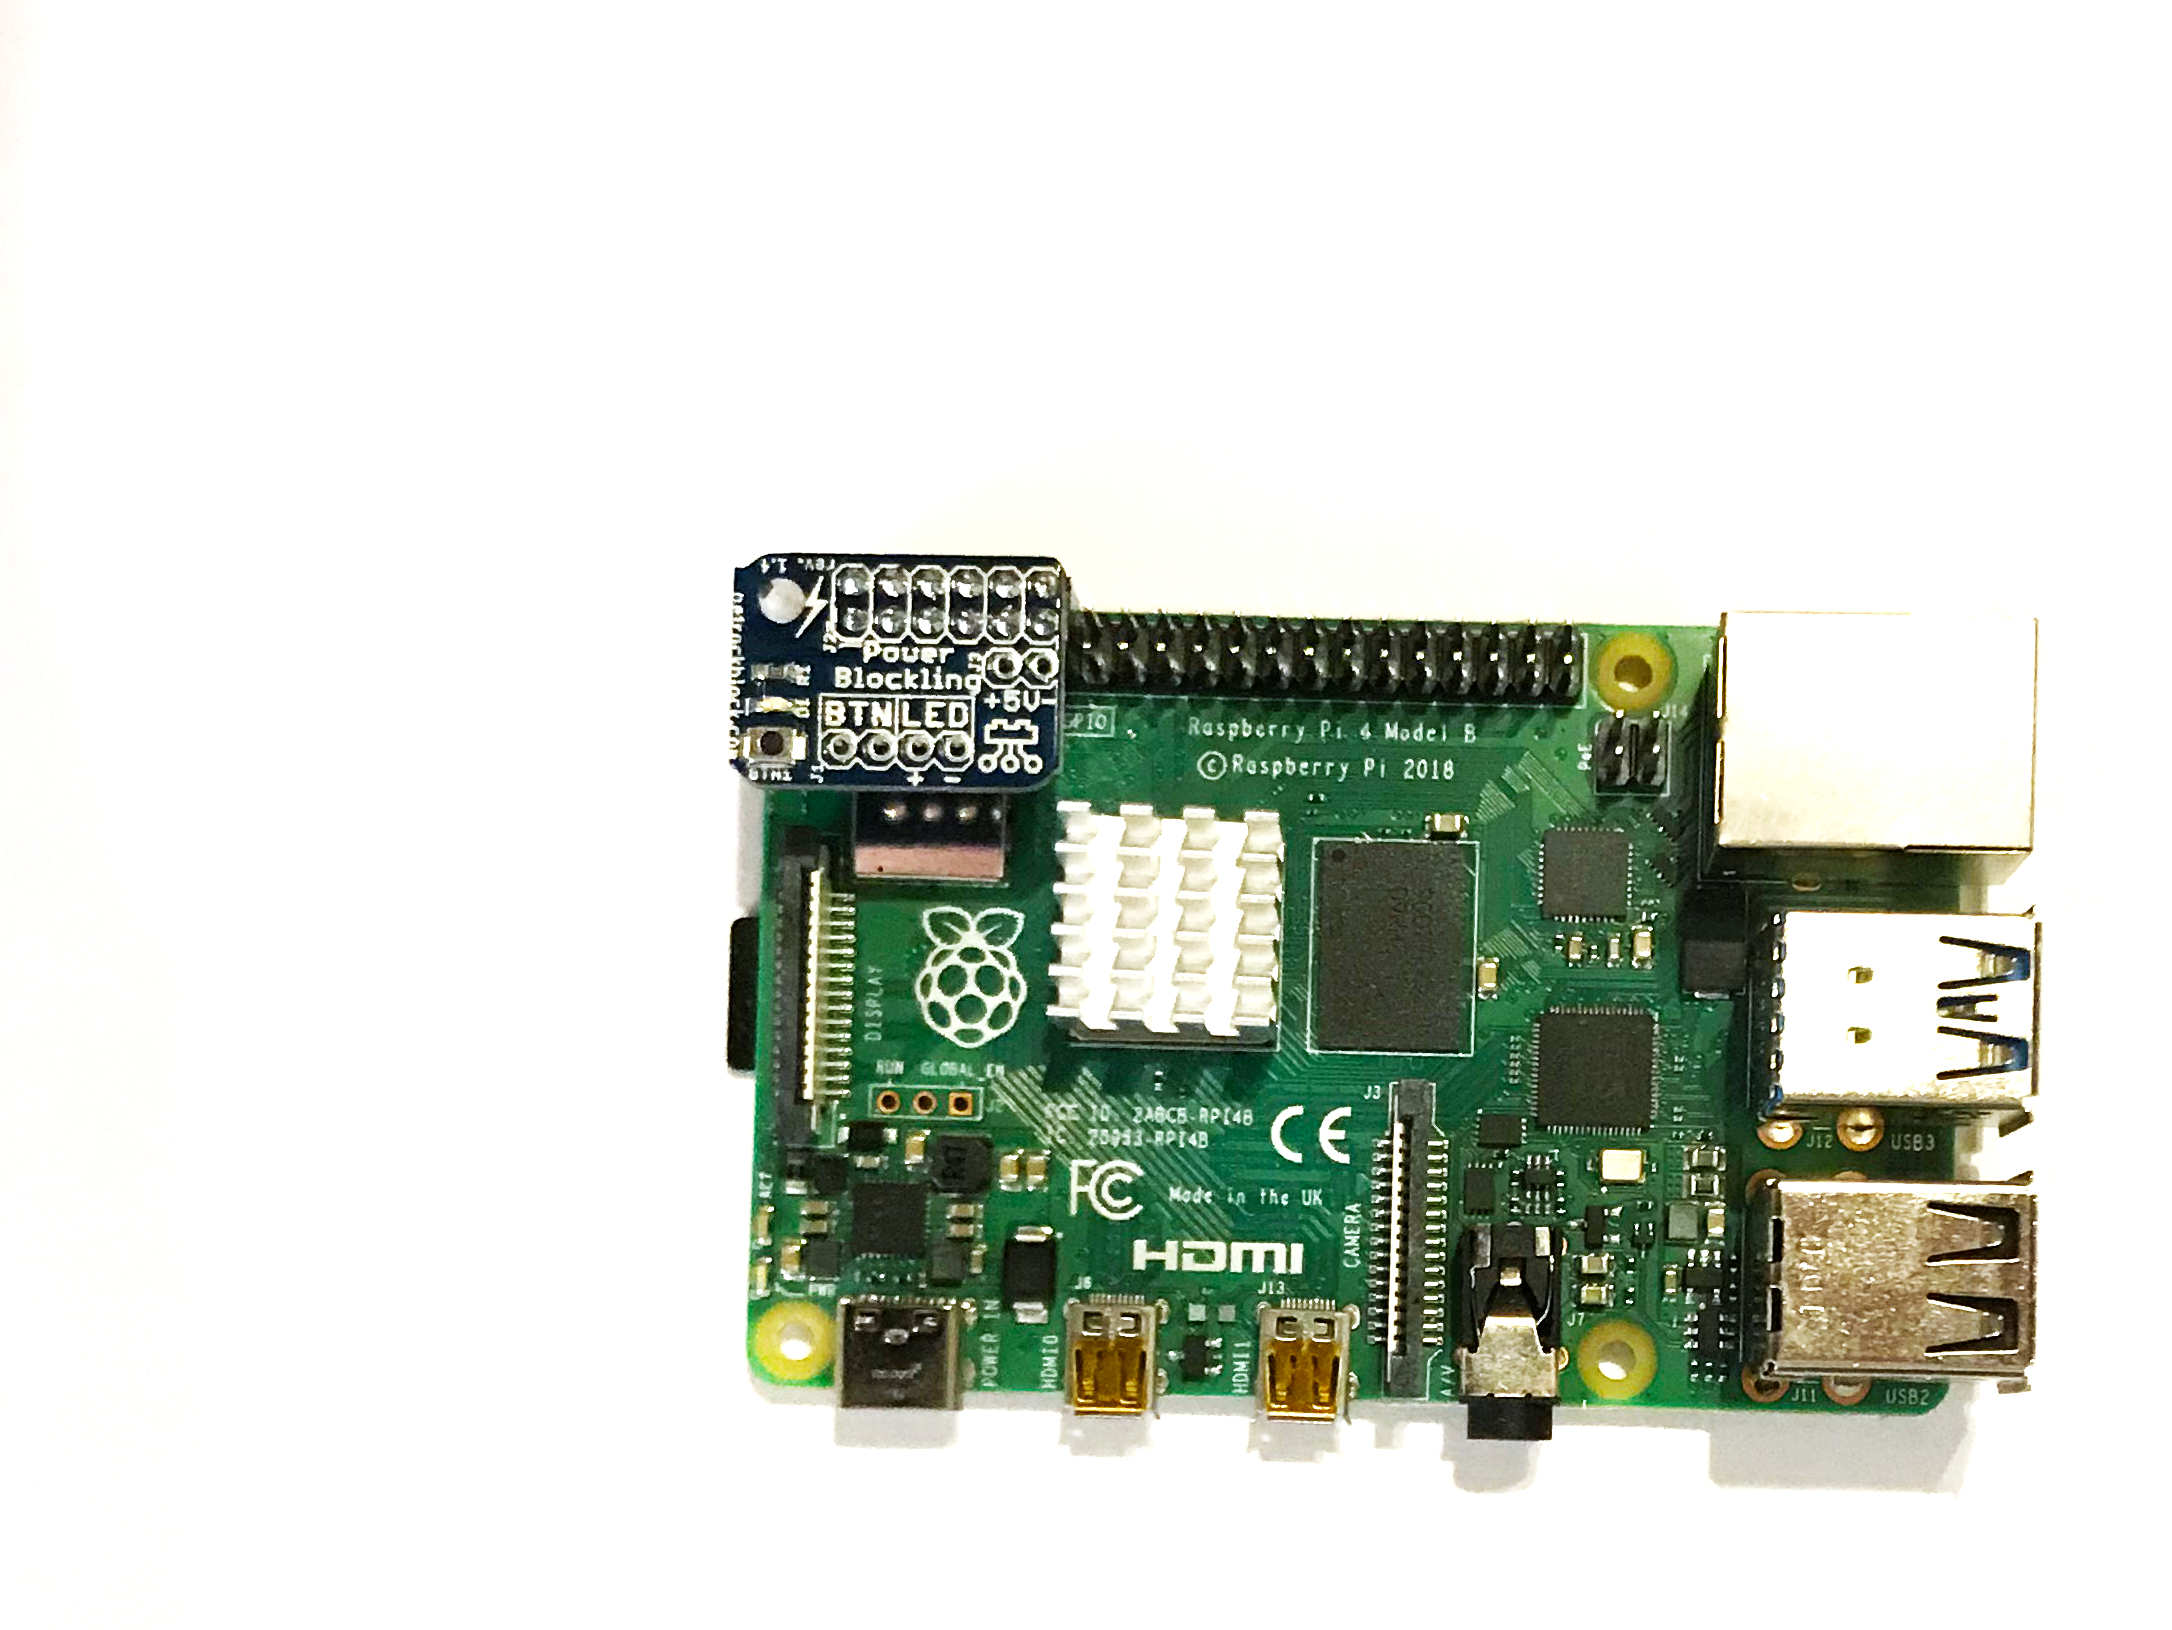
Utilizing the first 2×6 pins of the GPIO header, the PowerBlockling is fully compatible with the Raspberry Pi’s GPIO interface, ensuring a seamless integration into your projects.
The installation of the PowerBlockling is very simple: You just have to place the PowerBlockling with its 2×6 female pin header such that it matches the Raspberry Pis GPIO header as shown in the following image:

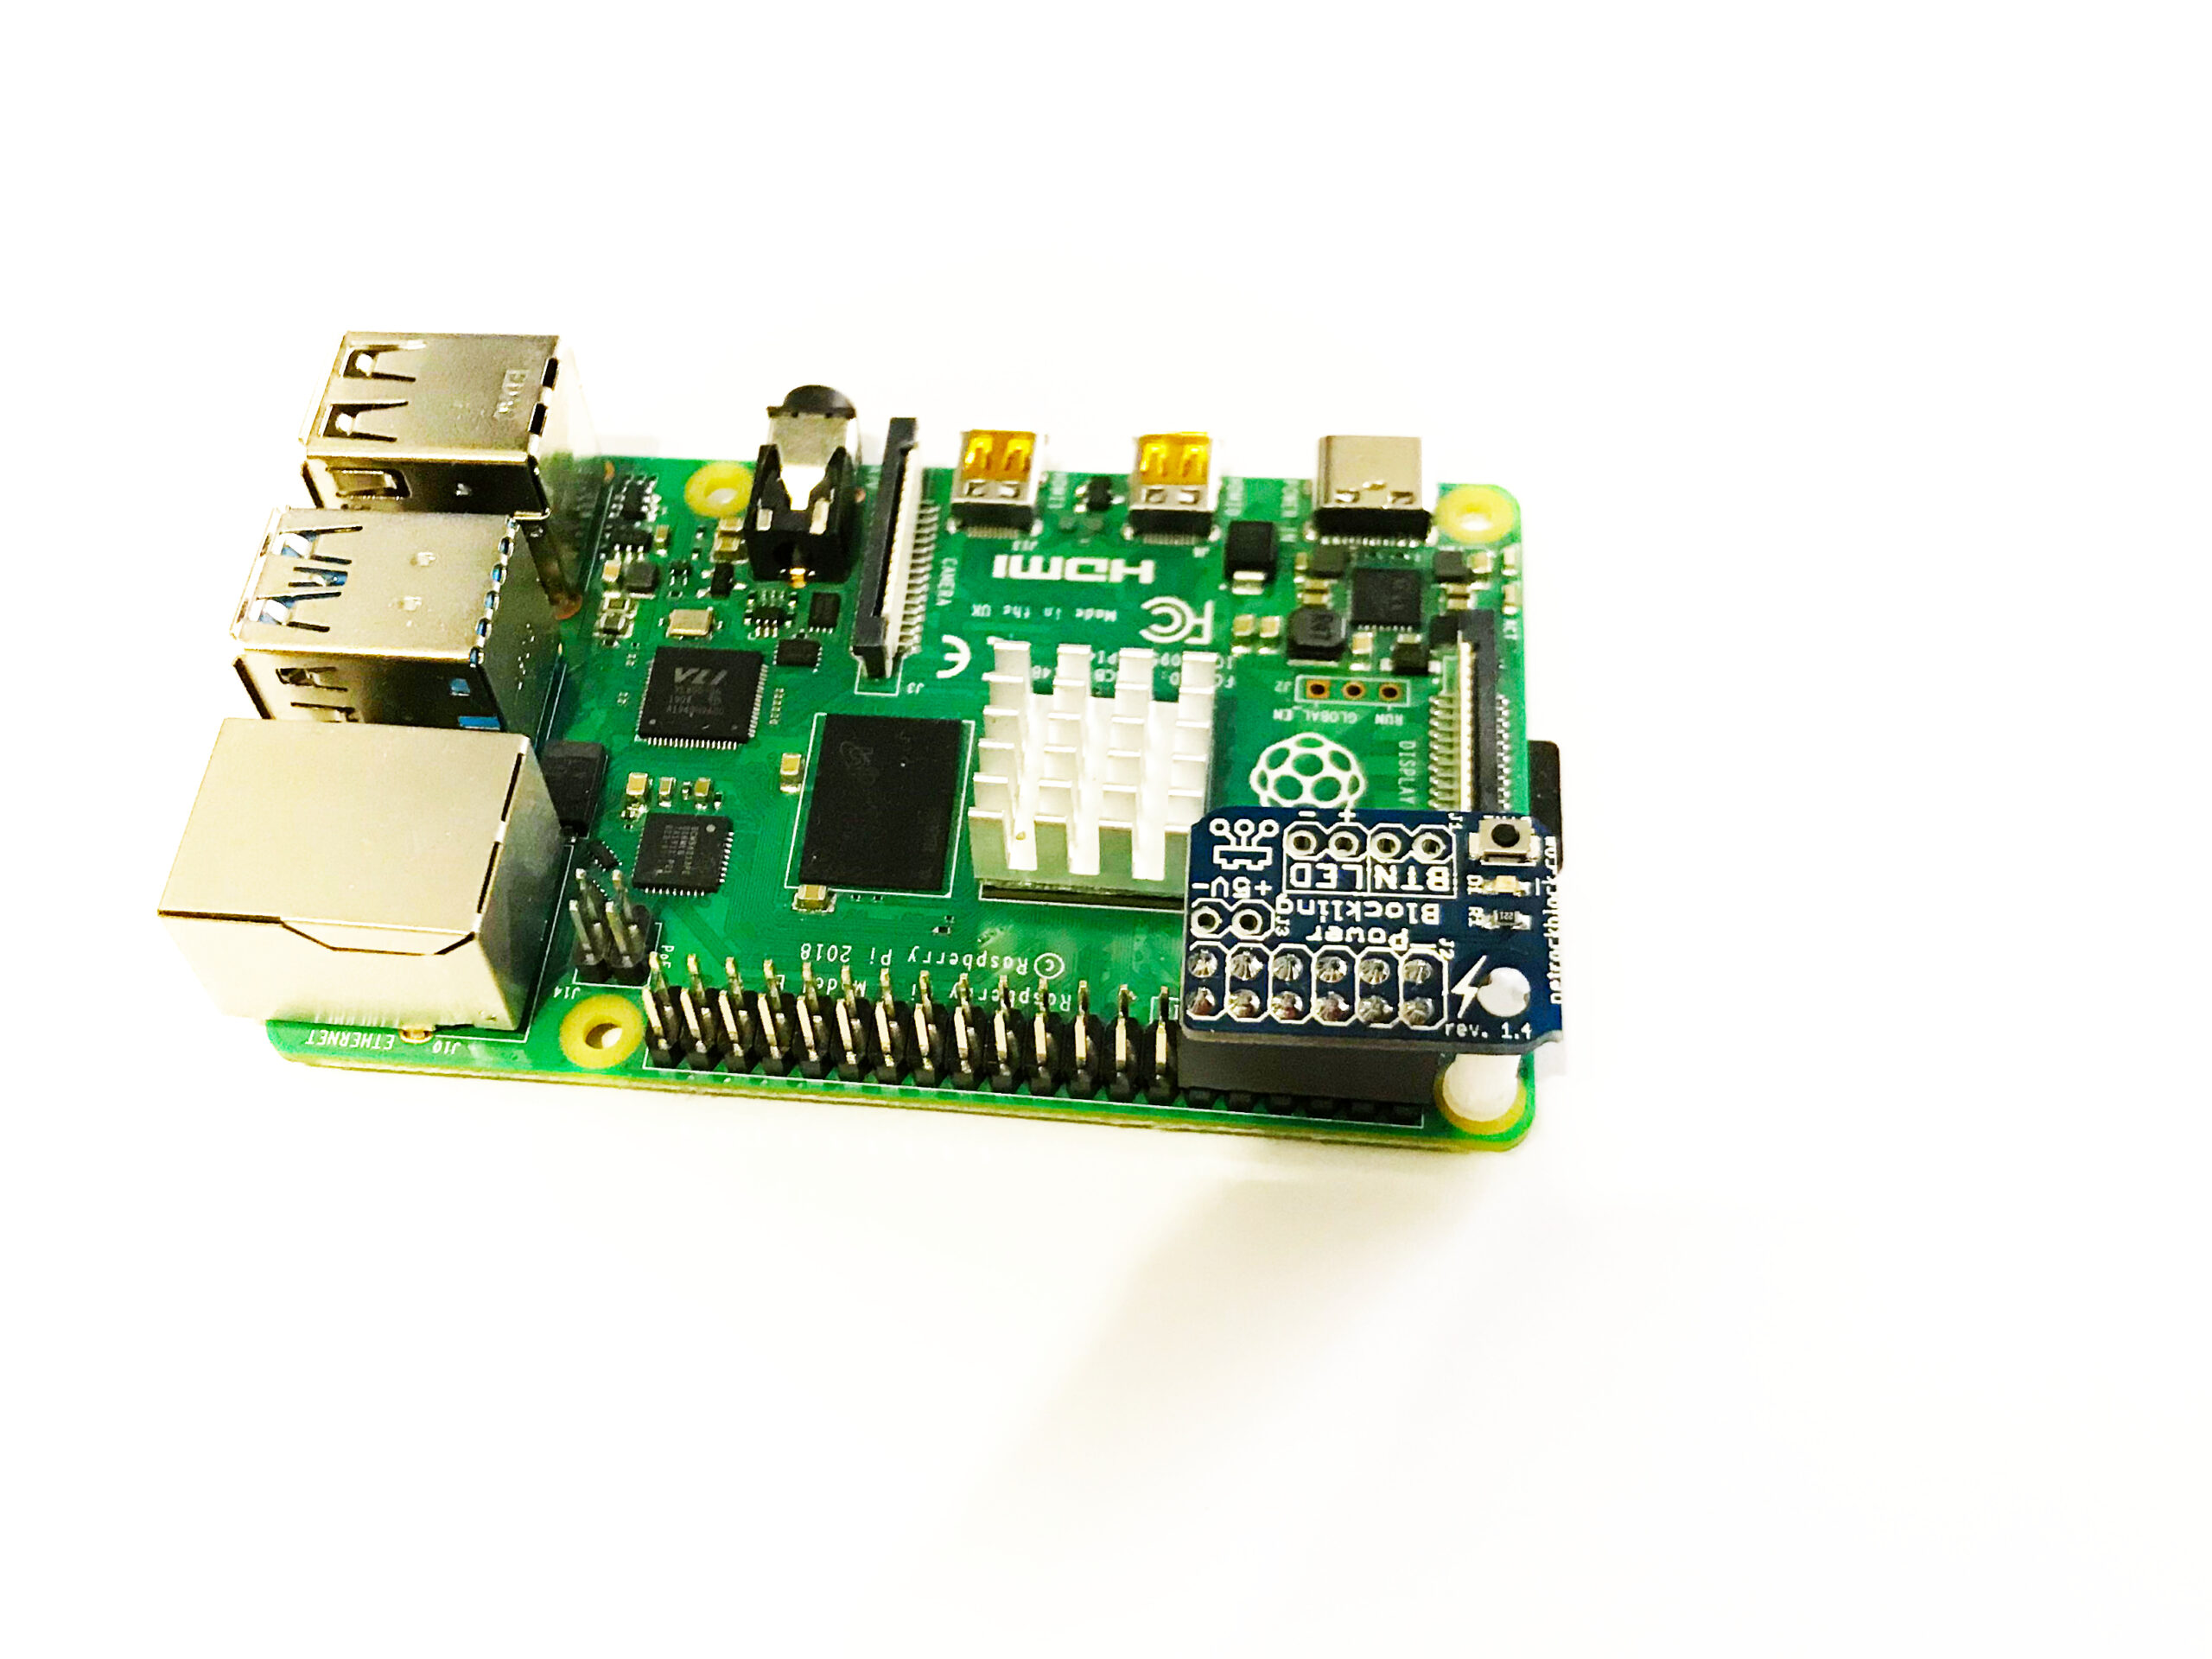
If you want to you can fasten the PowerBlock in place with the help of the two superimposing mounting holes.
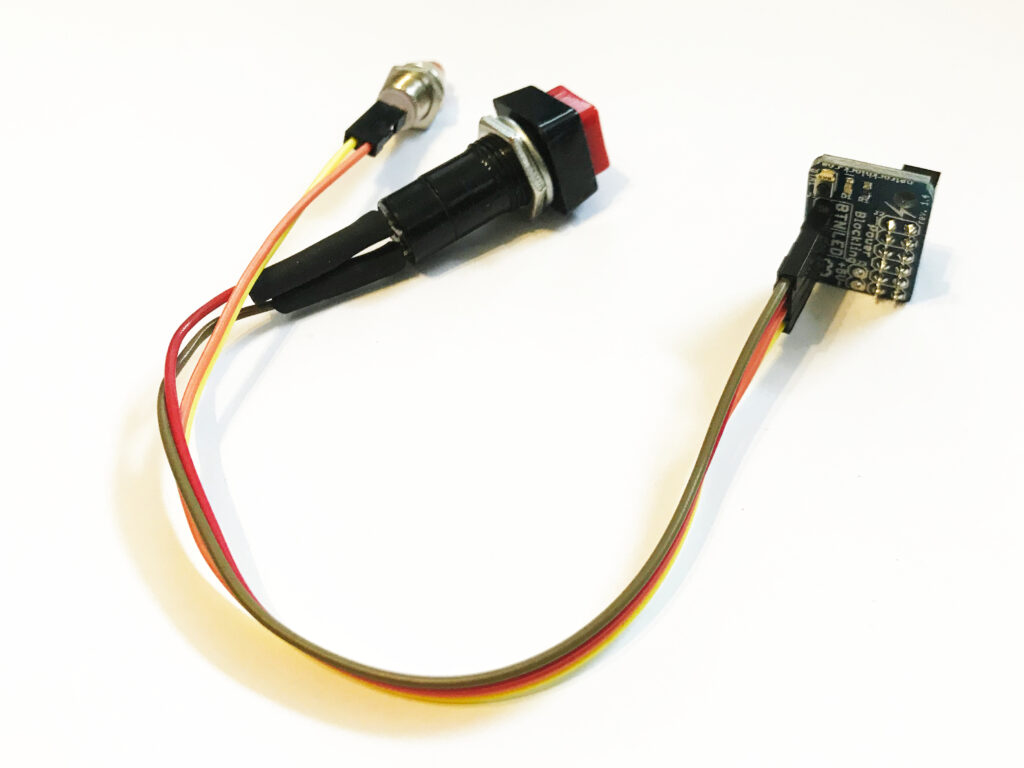
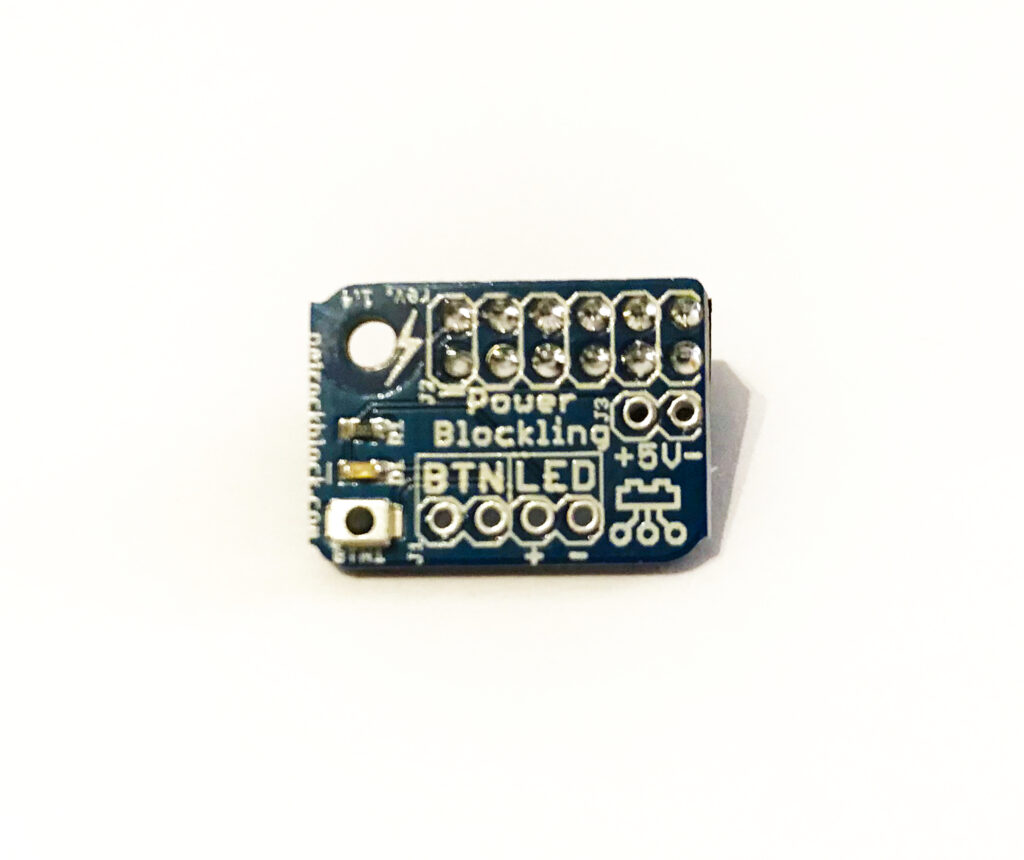
Optionally, you can install an external momentary button and/or an external status LED. The PowerBlockling shows labels for, both, the two button pins as well as for the two LED pins.
If you want, you can solder a 1×4 male pin to the PowerBlockling for an easier connection with a button and LED. The pin header comes with the PowerBlockling.
You attach the USB cable for the power supply directly to the original power supply connector of the Raspberry Pi. The PowerBlockling does not directly switch the power on or off. Instead, it makes use of the standby mode of the Raspberry Pi and, therefore, does not need to directly switch the power.
The installation of the PowerBlockling driver is done from within the terminal of a running Raspberry Pi.You only have to execute this single line:
wget -O - https://raw.githubusercontent.com/petrockblog/PowerBlockling/master/install.sh | sudo bash
You can find the latest version of the driver and installation script at Github.
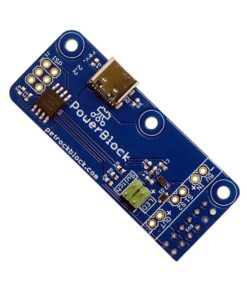
Alternatively to the PowerBlockling, we also offer the more advanced PowerBlock with more features and flexibility. Here is a comparison table:
Safe Power Button: ✔️
Status Indication: ON, OFF (Standby)
Supported Button Types: Only momentary buttons
Custom Script: No
Logging: No
External Signals: Button, LED
Configurable GPIOs: No
Raspberry Pi
Safe Power Button: ✔️
Status Indication: Booting, ON, Shutting Down, OFF
Supported Button Types: Momentary and latching buttons
Custom Script: ✔️
Logging: ✔️
External Signals: Button, LED, Status and Shutdown Signals
Configurable GPIOs: ✔️
Raspberry Pi