Tutorial: GamepadBlock with Raspbian

Oct
 This is a post as part of a tutorial series about getting to start with the GamepadBlock with various images for the Raspberry Pi. In this tutorial we will learn how to use the GamepadBlock with Raspbian, the most common operating system for the Raspberry.
Preparation
If you have not already done it, we need to download the Raspbian image first. You get the image on the official Raspberry Pi downloads site. When you have downloaded the image you need to load it on your SD card. You can follow the Raspberry Pi Software guide for that, if you are unsure how to do that.
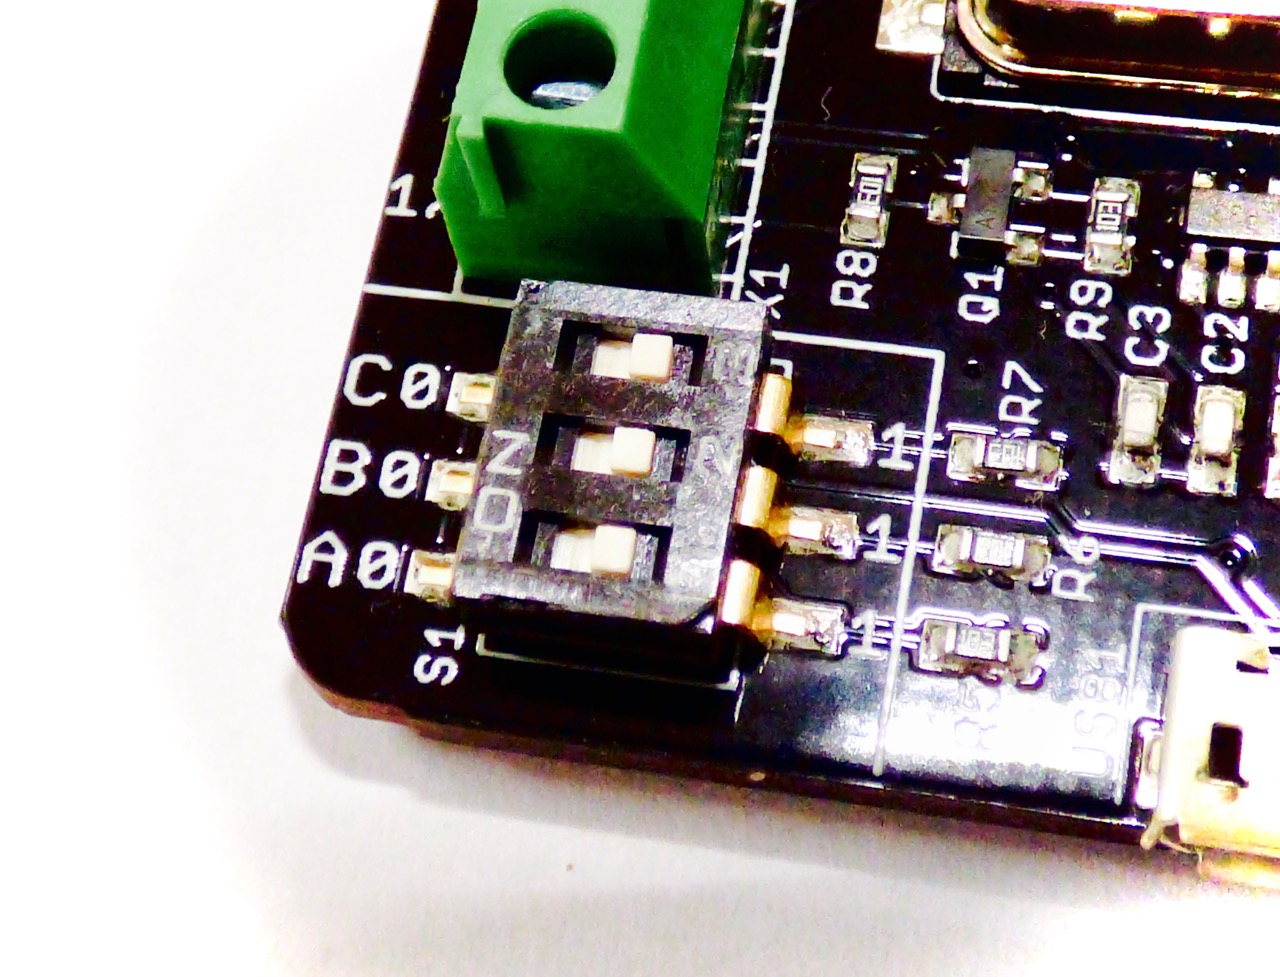
Setting the Controller Mode
The Controller Mode determines how the GamepadBlock polls the controllers that are attached to it. You find a detailed description for all modes on the Getting Started Page.
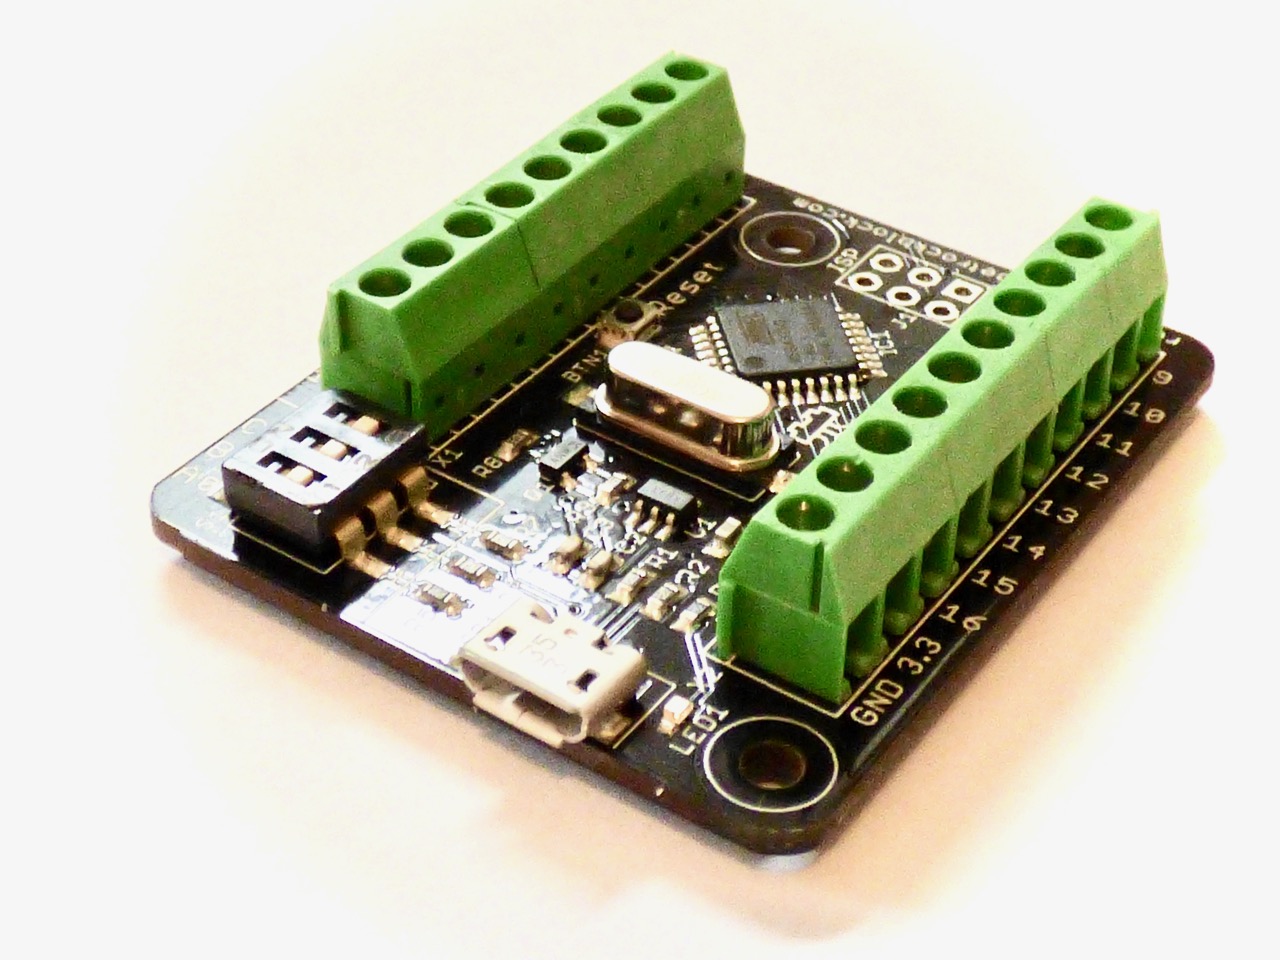
Attaching the GamepadBlock
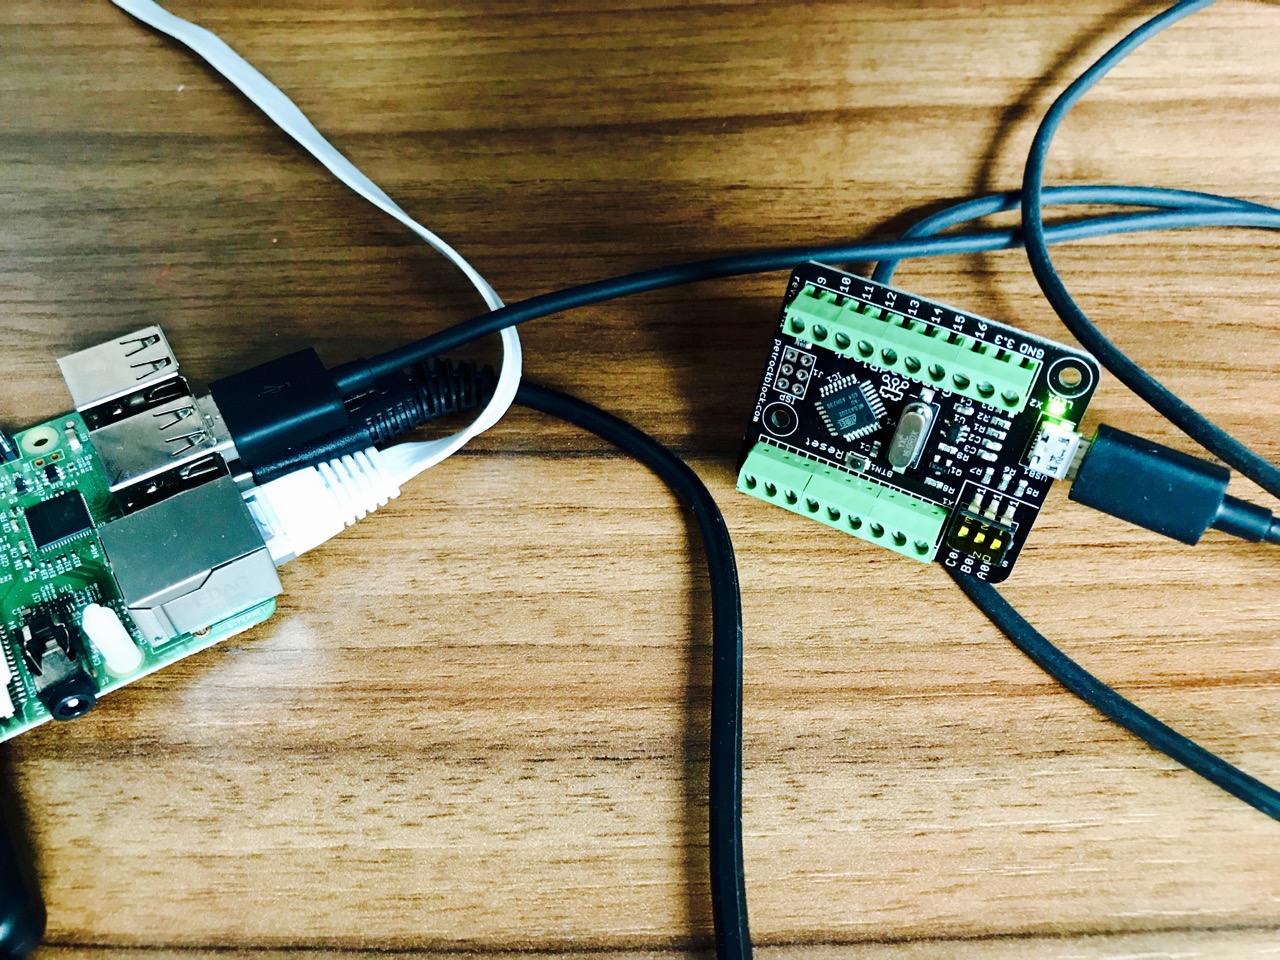
Using the GamepadBlock with the Raspberry Pi is very easy: You connect the GamepadBlock to the Raspberry Pi with a micro USB cable just like any other USB device. You can use any free USB connector.
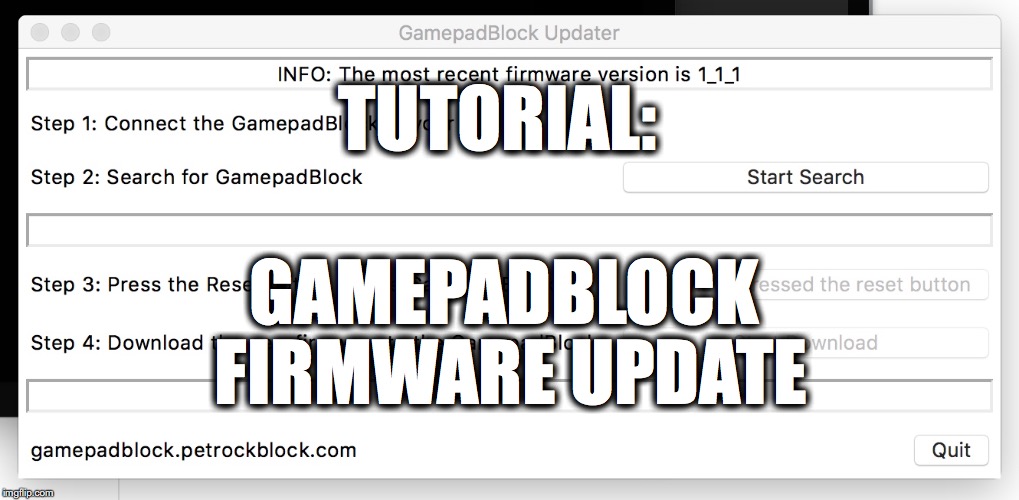
Installing USB HID Quirks for the GamepadBlock
Until the GamepadBlock patch for the Linux kernel is merged, the following description is important for you if you want to use the two-player functionality of the GamepadBlock on a Linux computer. When you connect the GamepadBlock to your Linux computer, for example the Raspberry Pi, only one gamepad is listed under /dev/inputs/. For Linux-based computers we need to configure a so-called USB HID quirk for the GamepadBlock. We provide a Bash script that automates this at Github. You execute the script with the following command:
wget -O - https://raw.githubusercontent.com/petrockblog/GamepadBlockScripts/master/gamepadblockRaspbian.sh | sudo bash
That command will download the script and start it. The scripts checks the file /boot/cmdline.txt if the quirks have already been configured. If these are not configured, the script adds the necessary command to the file.
Note that the Raspberry needs to be restarted, in order to take the changes into effect.
Conclusion
As you can see, getting started with the GamepadBlock involves very few steps. We hope you enjoy your GamepadBlock and wish you good luck with your project!